Introduction
Lionheart Creations are developers of unusual and historic
aircraft. Bill Ortis, the main man behind of LHC, is well known
in the flight sim industry for his excellent development
skills and when he releases a new product people take notice!
The Piper Pacer is a perfect fit for Bill’s interests and abilities. The project started as a simple classic tail dragger model add-on but ended up being a package of 4 variations of the Pacer aircraft with 3 different panels, 4 different landing gear systems, and 33 livery options.
The package also includes Alaskan scenery for users who do not own the Orbx equivalent. The scenery adds extra buildings, such as cabins, and lakes to stock scenery (not reviewed here).
The result is a super pack of Piper Pacer and Piper Tri-Pacer
goodness!
History
Following their success with the Piper J-3 Cub, the Piper PA-20 Pacer, a 4-seater light aircraft, was born in the 1950's when it was quite clear the USA was entering a new era of private flying. The Pacer was originally designed as a tail dragger but demanded a lot of attention on take-off and landing. A year later Piper introduced the PA-22 Tri-Pacer. As soon as Piper hung a nose wheel under it, sales sky rocketed as the airplane became 'brain dead' simple to take-off and land. Unfortunately, the price paid was that it earned its "milk stool" moniker because of the tripod like appearance of the landing gear.
The aircraft were very affordable, economical to own and fly,
and were seen everywhere. They were rugged and great for landing
in the country side on the grass and on roads, etc. Hunters bought
them and could land in the outlands easily. Business men had
them and could fly all over the United States without having to
worry about plane tickets and boarding lines.
 |
Even today, these rugged aircraft are still being used as bush planes and at private airfields especially in Alaska.
Availability and Installation
My version was downloaded from the Just Flight download shop and it is also available from Flight1, FlightSimStore, PC Aviator, and SimMarket.
Installation is a straight forward affair with FSX and P3D options. The system reads where your FSX/P3D installation resides and offers you the opportunity to load to a different folder. The installer also performs a disc space check which is an important feature given that the average flight simmer’s hard discs are groaning under the weight of flight sim add-ons! This program needs a whopping 1464Mb of space.
After installation the manual is presented on screen via a pdf format, more of that later.
One worrying thing I found was a lack of an uninstaller, neither in the product folders nor via the Windows Control Panel. This is an oversight in my opinion as the installer is adding files to the gauges, effects, fonts and add-on scenery folders, so if you just manually remove the aircraft folder you are left with detritus in other folders
Documentation
The manual takes the form of an old sepia coloured book. It has sections for aircraft performance and specs, sim model features and flying tips. It is nicely written and easy on the eye. However, there are a lot of typos and inaccuracies which seems a bit careless.
There is some interesting reading in the manual about the Pacer project and what to expect about the aircraft.
Detailed Description
Four models:
● Classic tail dragger (with three wheel fairing options);
● Tri-Pacer (with two wheel fairing options);
● Modern bush plane (featuring Tundra large diameter tyres); and
● Float plane.
Three instrument panel configurations:
● Classic early era with optional radio stacks;
● Tri-Pacer era with dual panel sides; and
● Modern bush version with carbon fibre and modernised avionics.
Features:
● 33 high resolution (2048x2048) liveries;
● Very detailed models with 3D raised ribbing on the fuselage and wings, switchable skirts, metal fatigue around fuel tank covers and even
3D screws!
● Removable magnetic whisky compass on older panel configurations;
● ‘Clean your Plexi!’ system allows you to toggle how dirty your cockpit windows are;
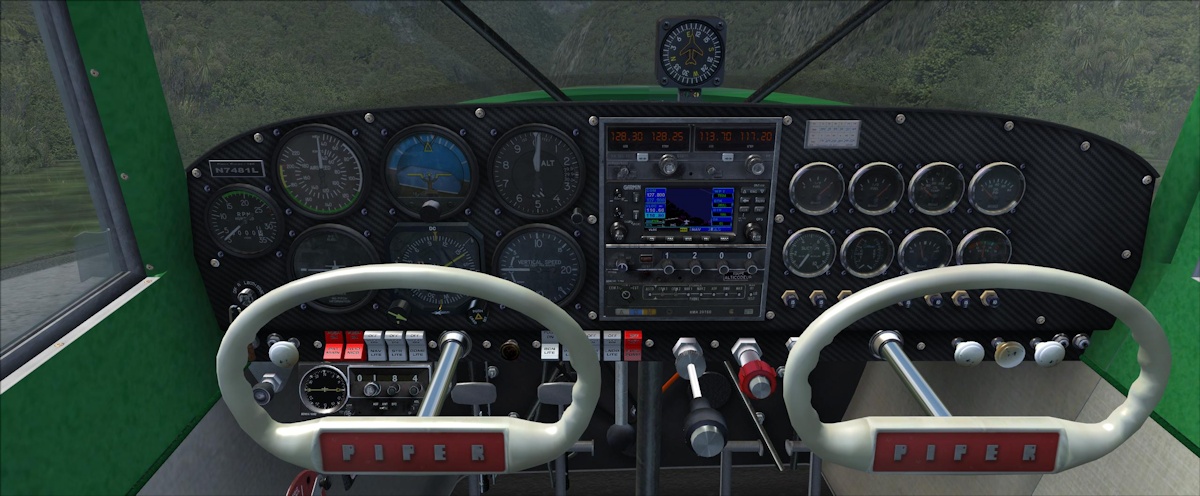
● Ability to hide yokes for improved view of cockpit panel;
● Garmin GNS 430 available in modern cockpit variant;
● Sliding side windows and option to show cargo load; and
● Animated pilot head movements scans instruments.
Paint Schemes
Without wanting to swamp this page with screenshots of the liveries, I have included all of them here, in this slideshow (33 Slides).
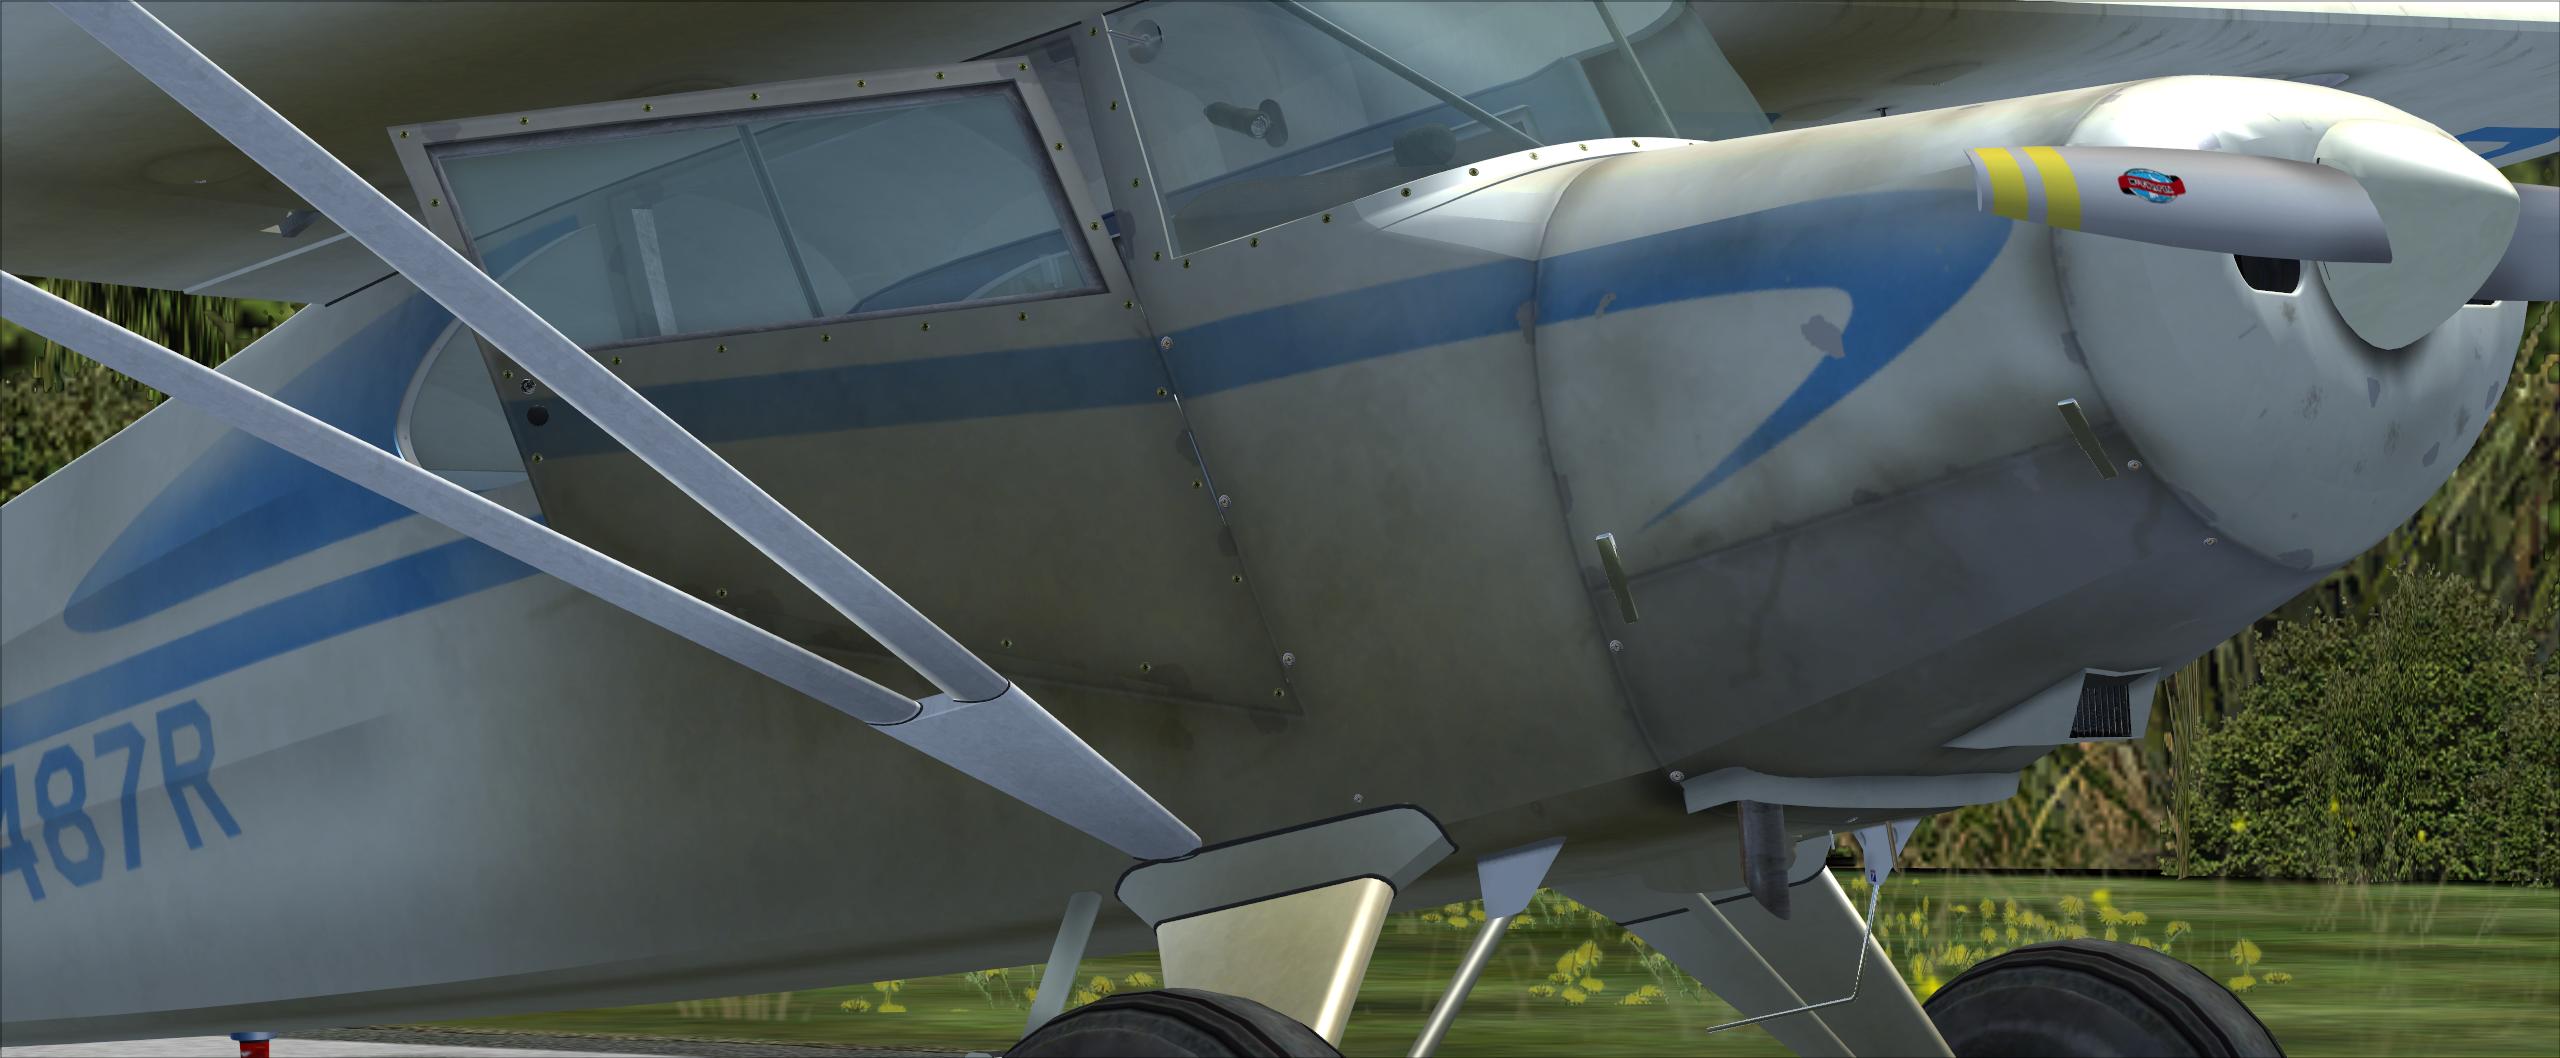
Exterior -As you walk up to the Pacer, the first thing you will do is a double take on the door layout. The door layout is unusual in that it has with one door on each side, one on the right front, and one on the left rear. The upside is the rear passengers have their own door, the downside is the pilot has to be in before the front passenger! Fortunately, boarding through either door is actually easier than getting into a Cessna 172.
 |
 |
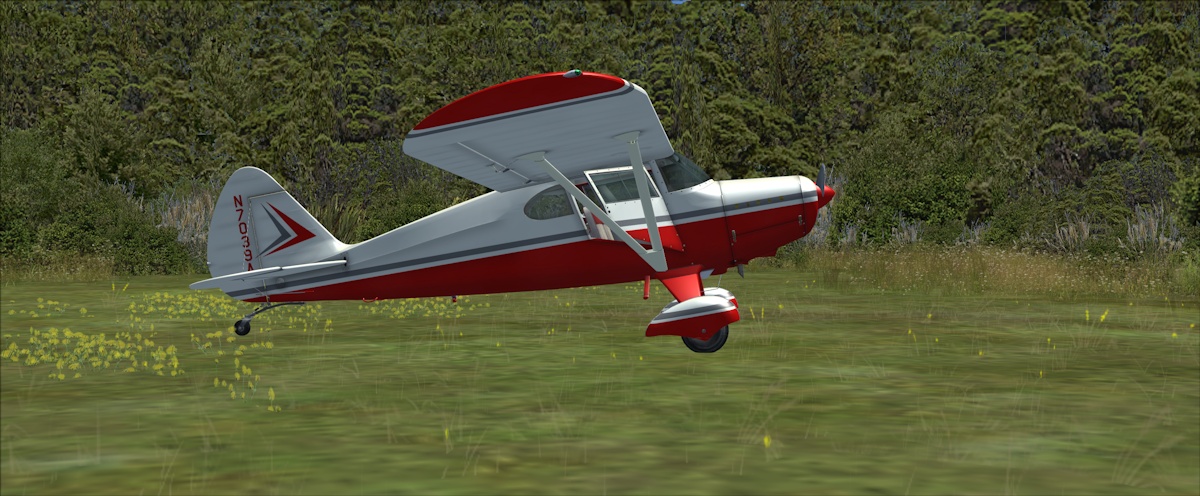
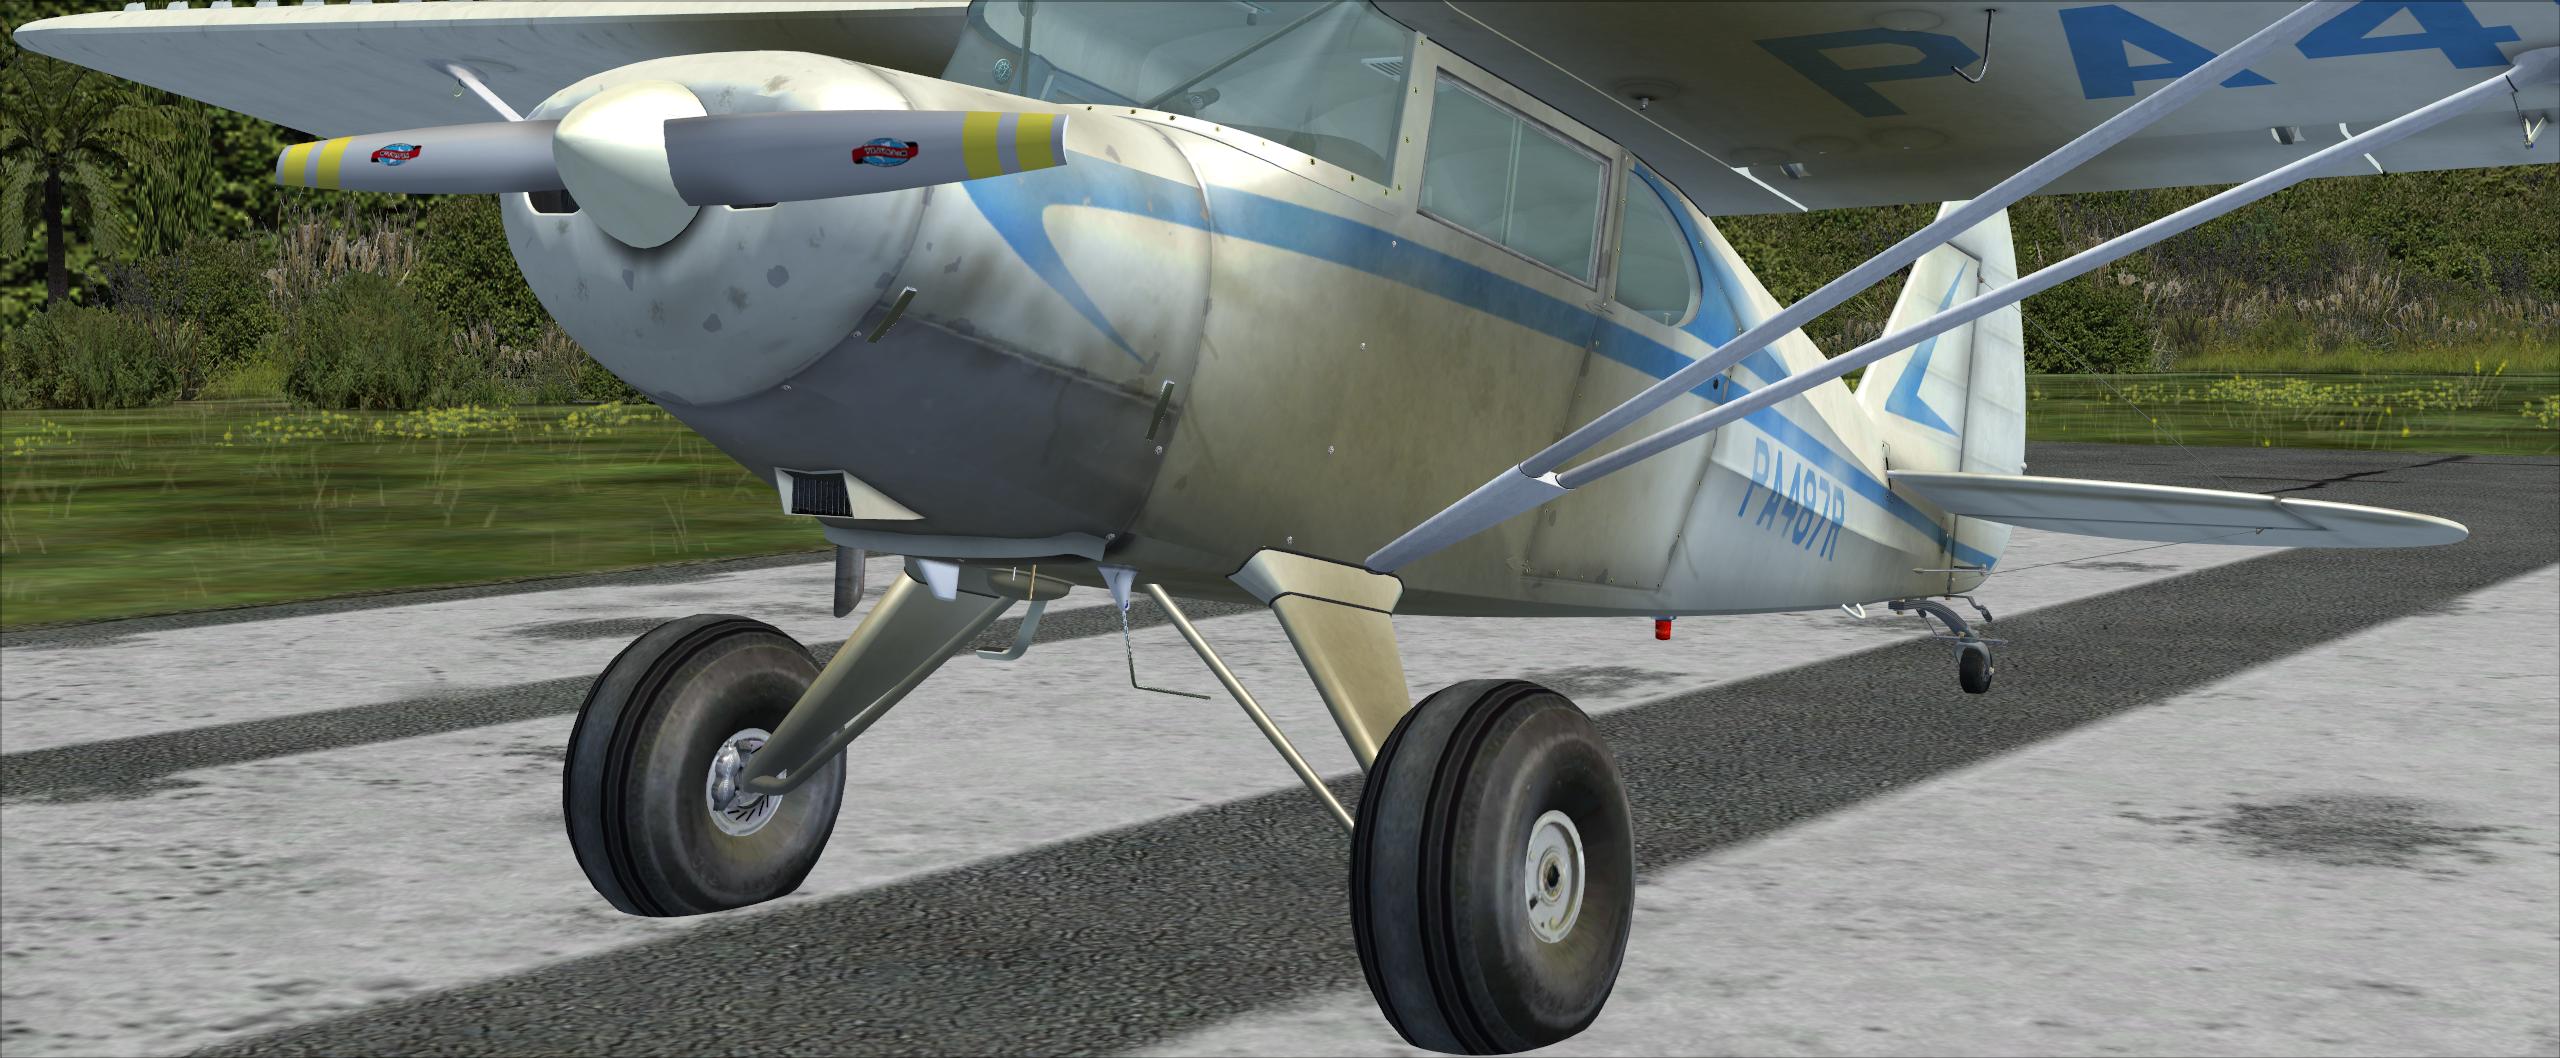
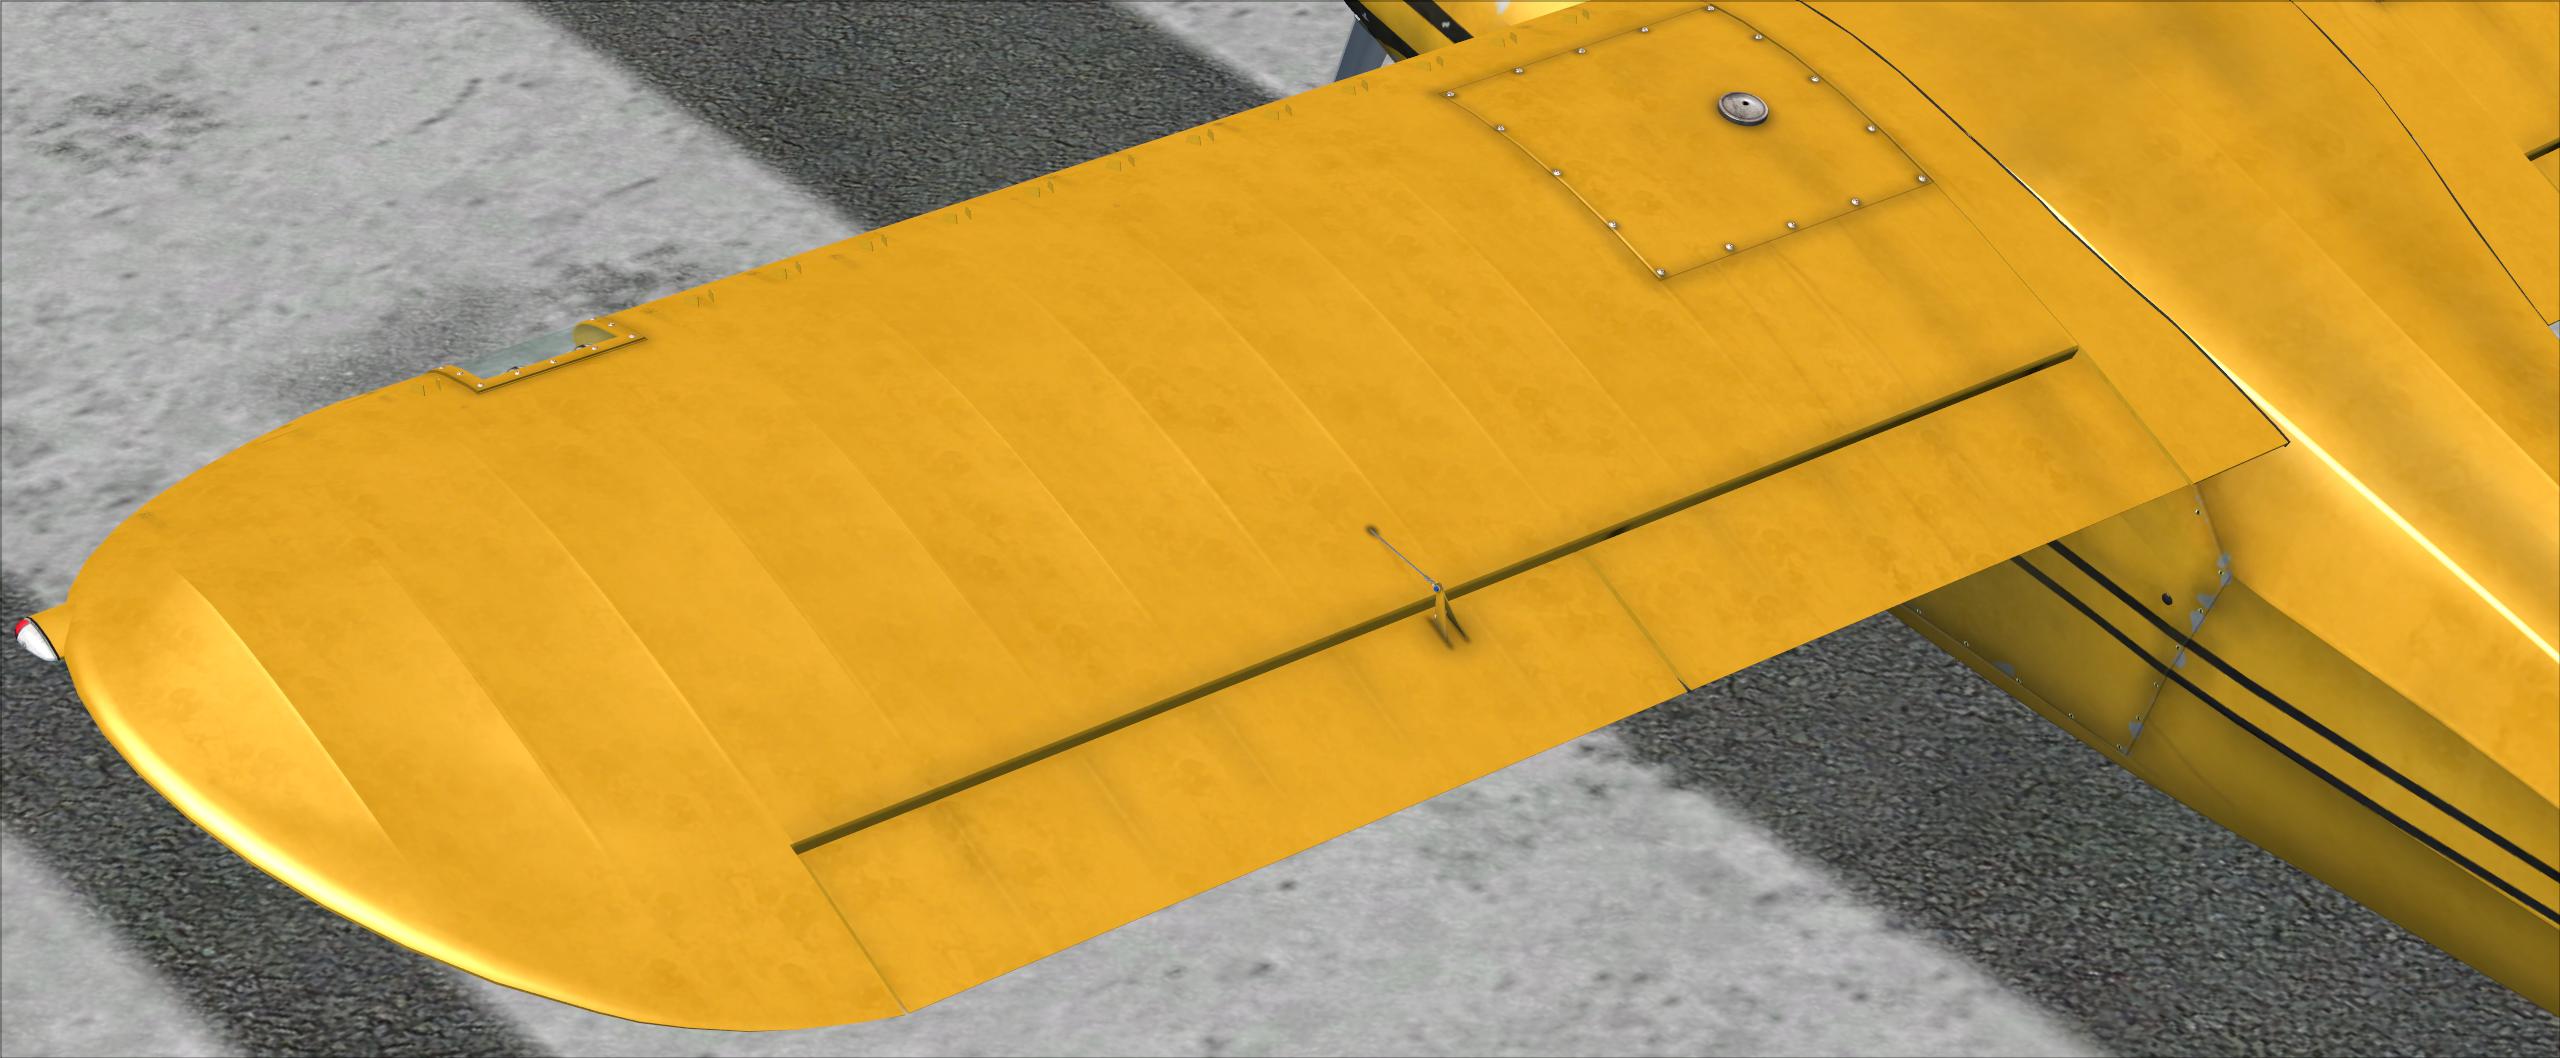
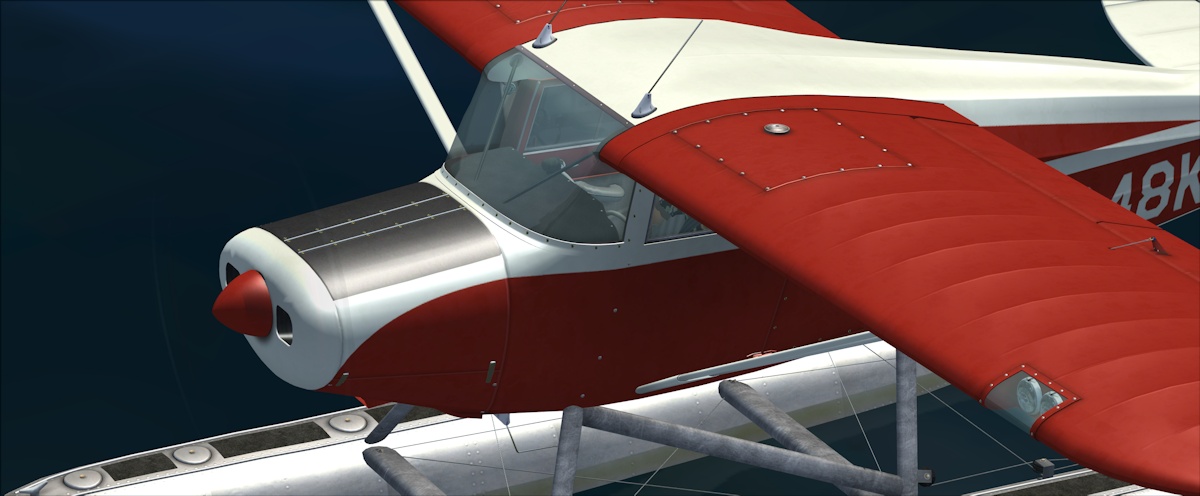
The HD textures and bump mapping give the skin real crisp detail. The wing struts can clearly be seen pushing through the fabric on the wings and other 3D objects have real depth, simple things like screw heads, hinges, cable couplings, levers and linkages.
The treatment given to the paint textures vary depending on the model. You will find chipped paint, faded and mud splattered fuse and wings.
 |
 |
 |
 |
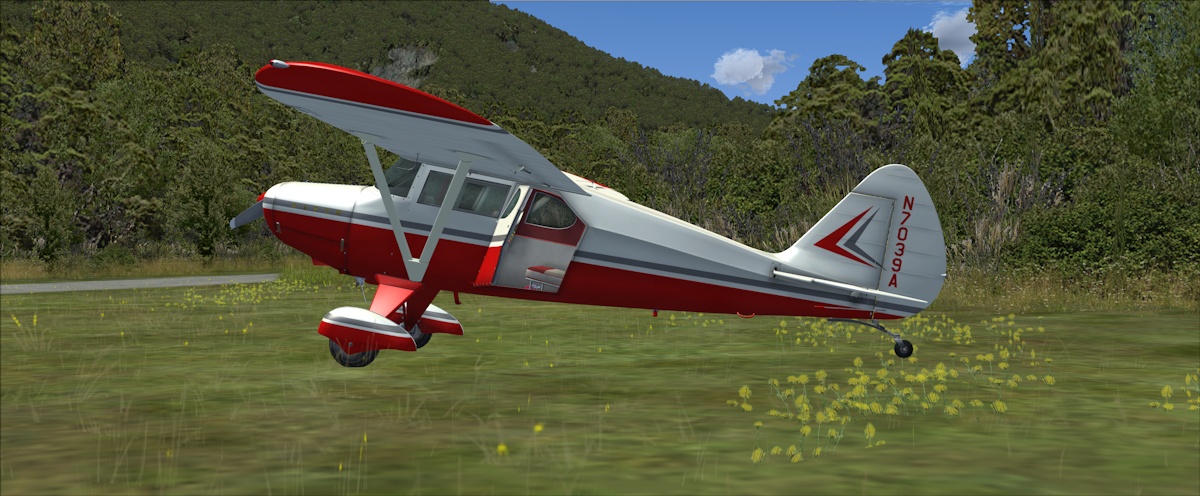
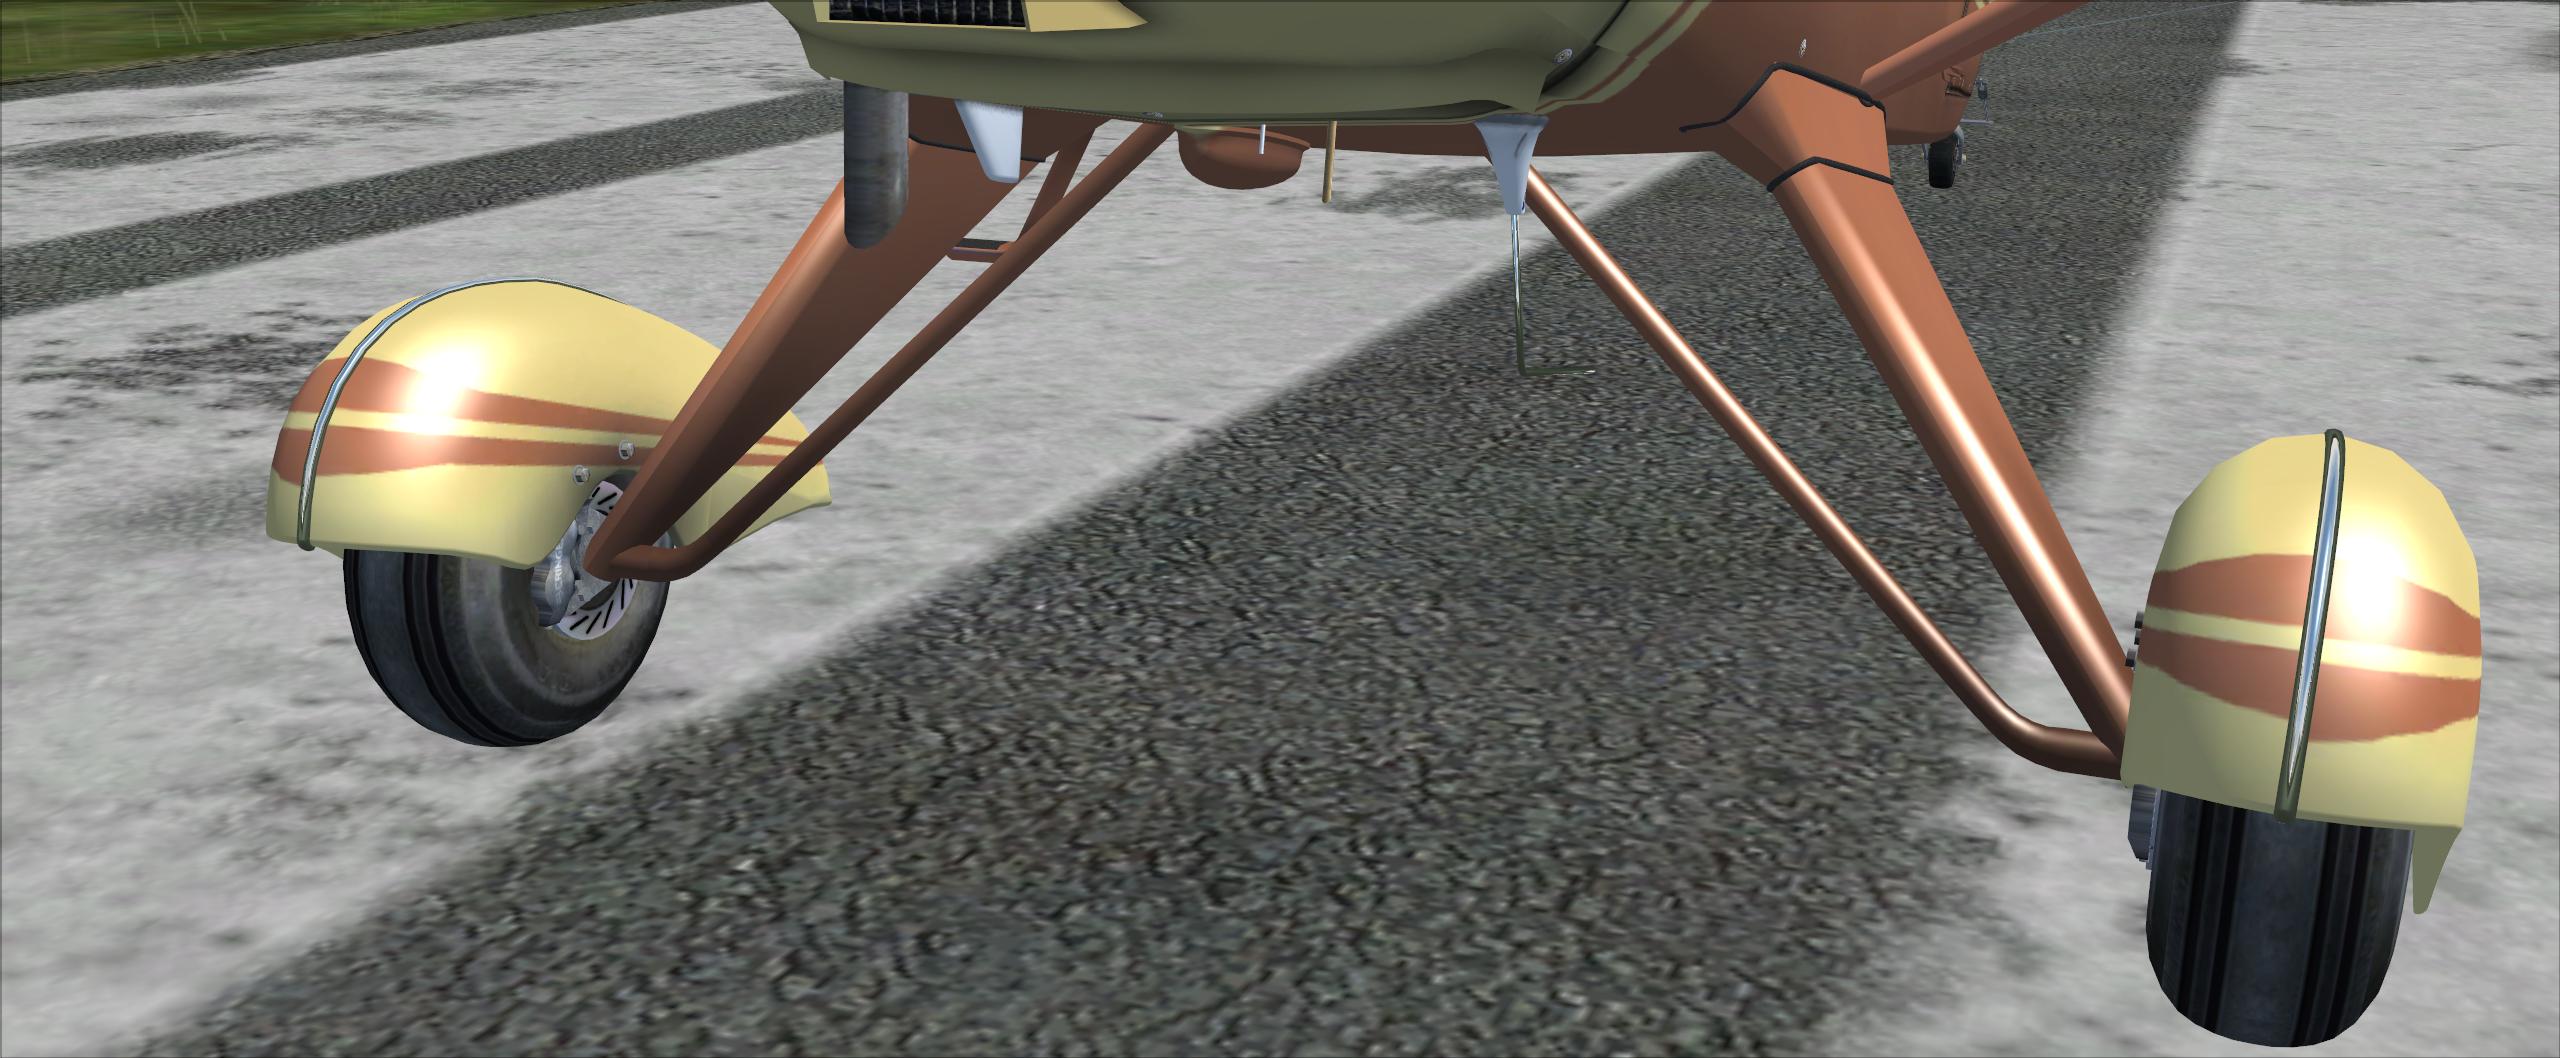
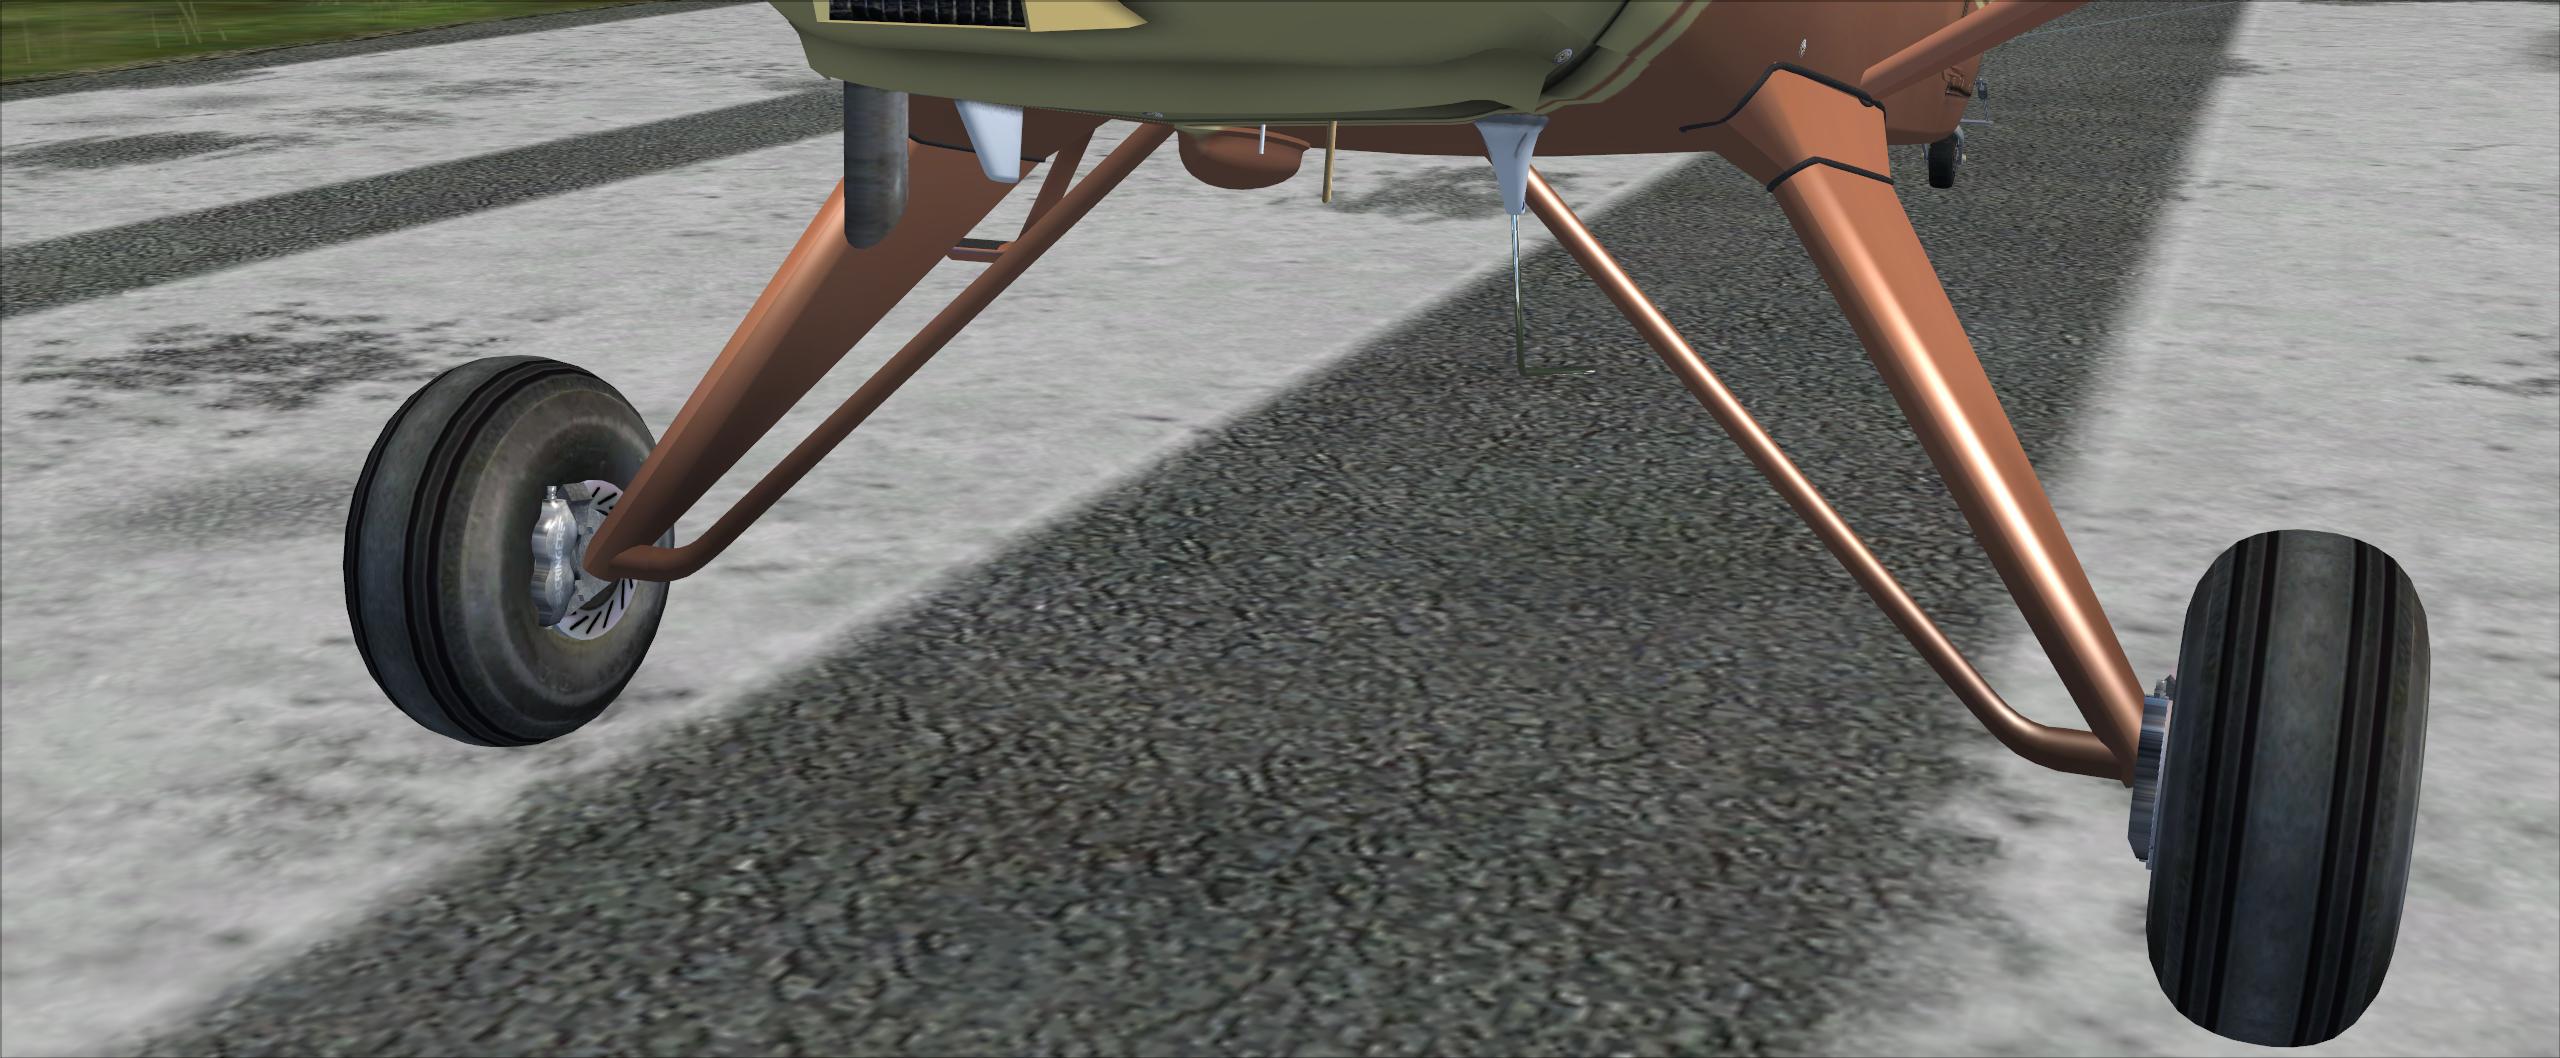
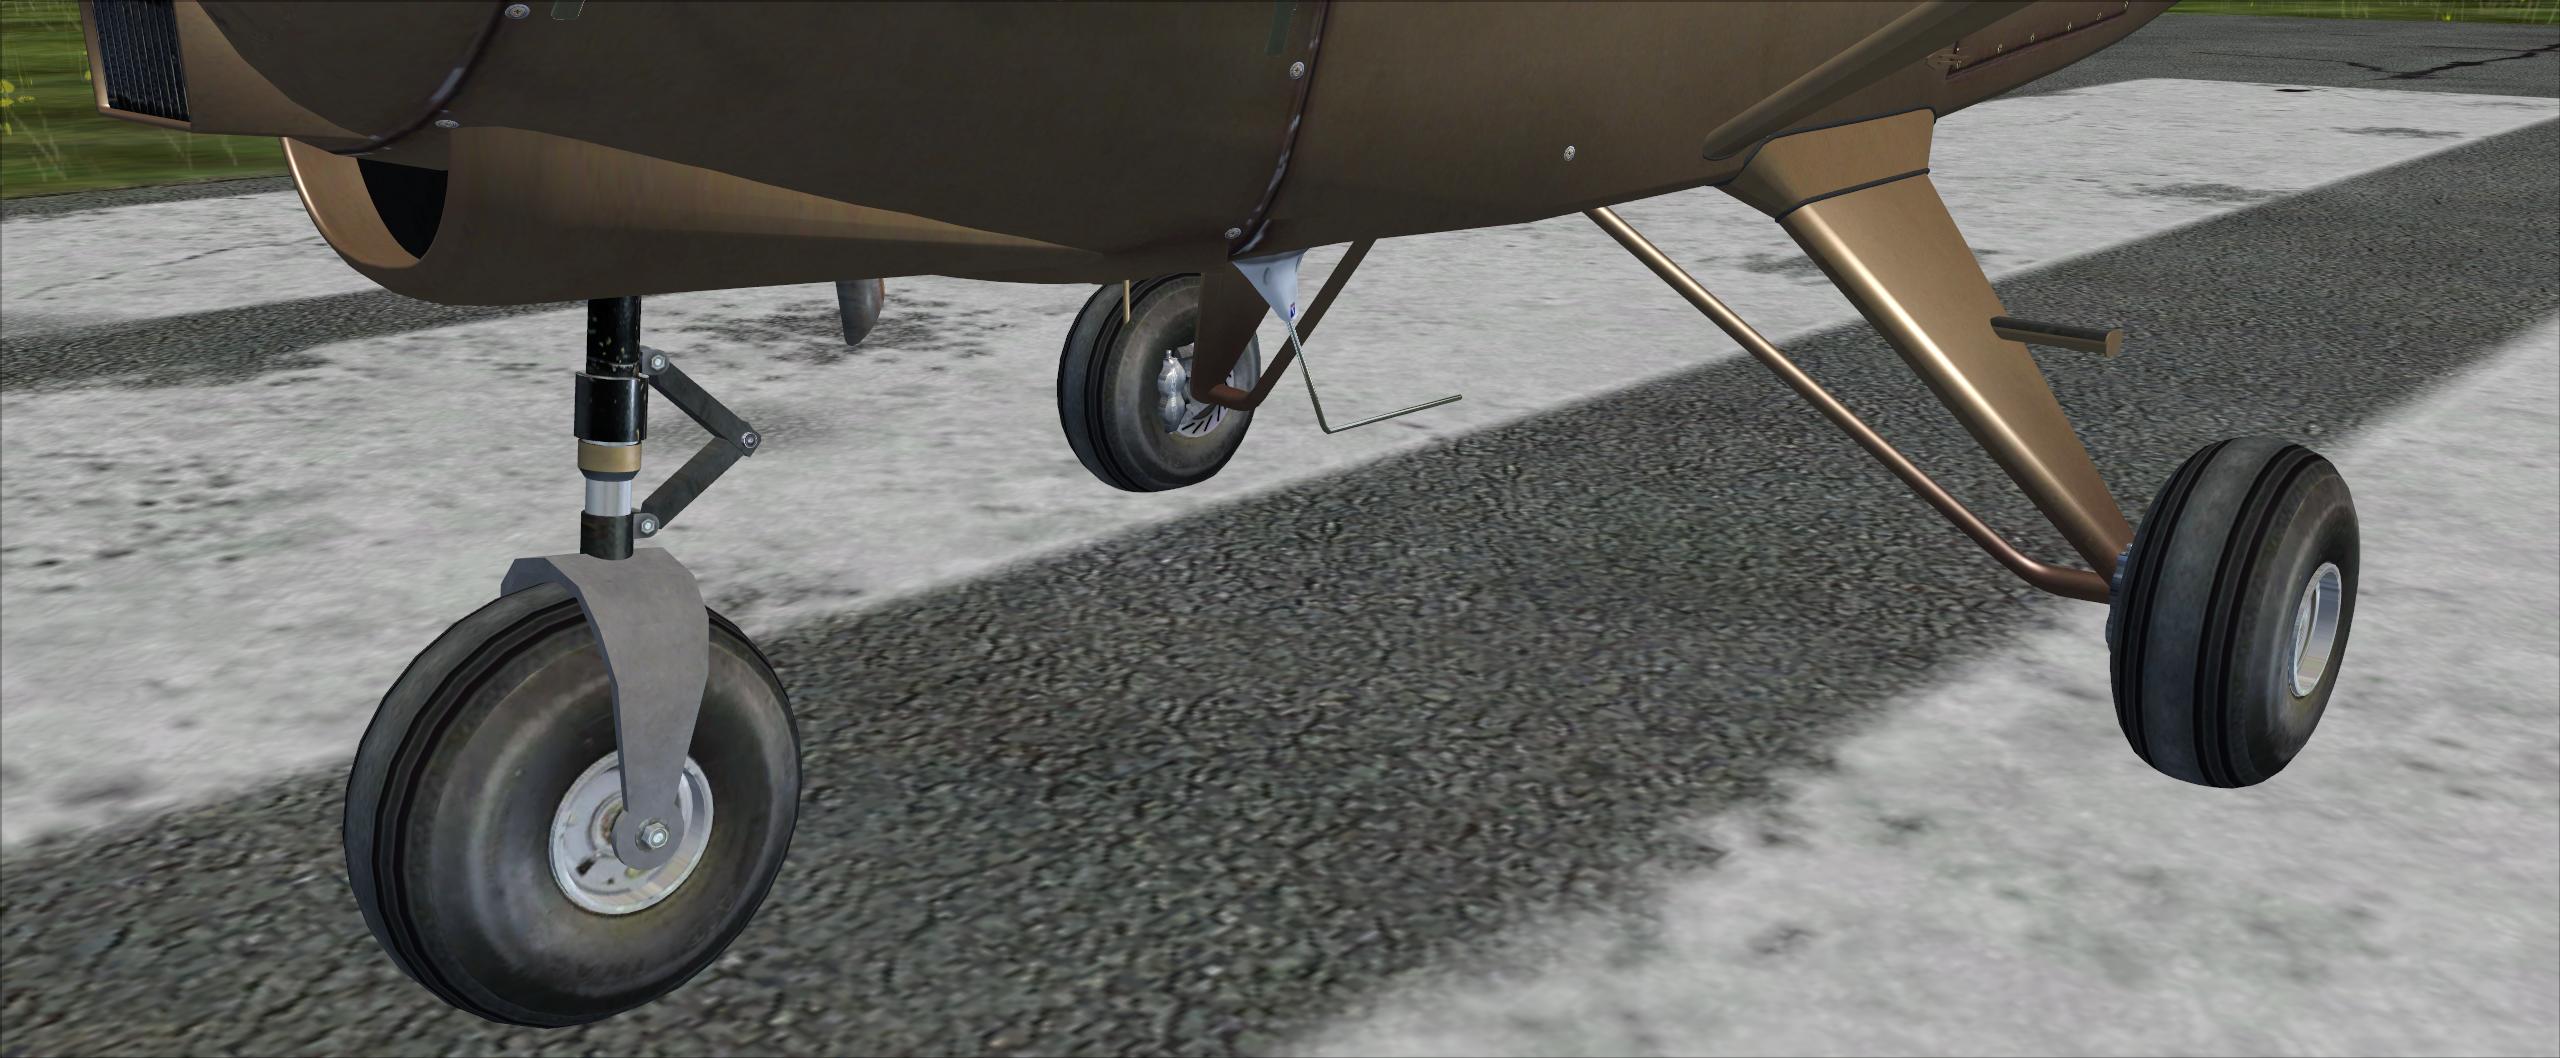
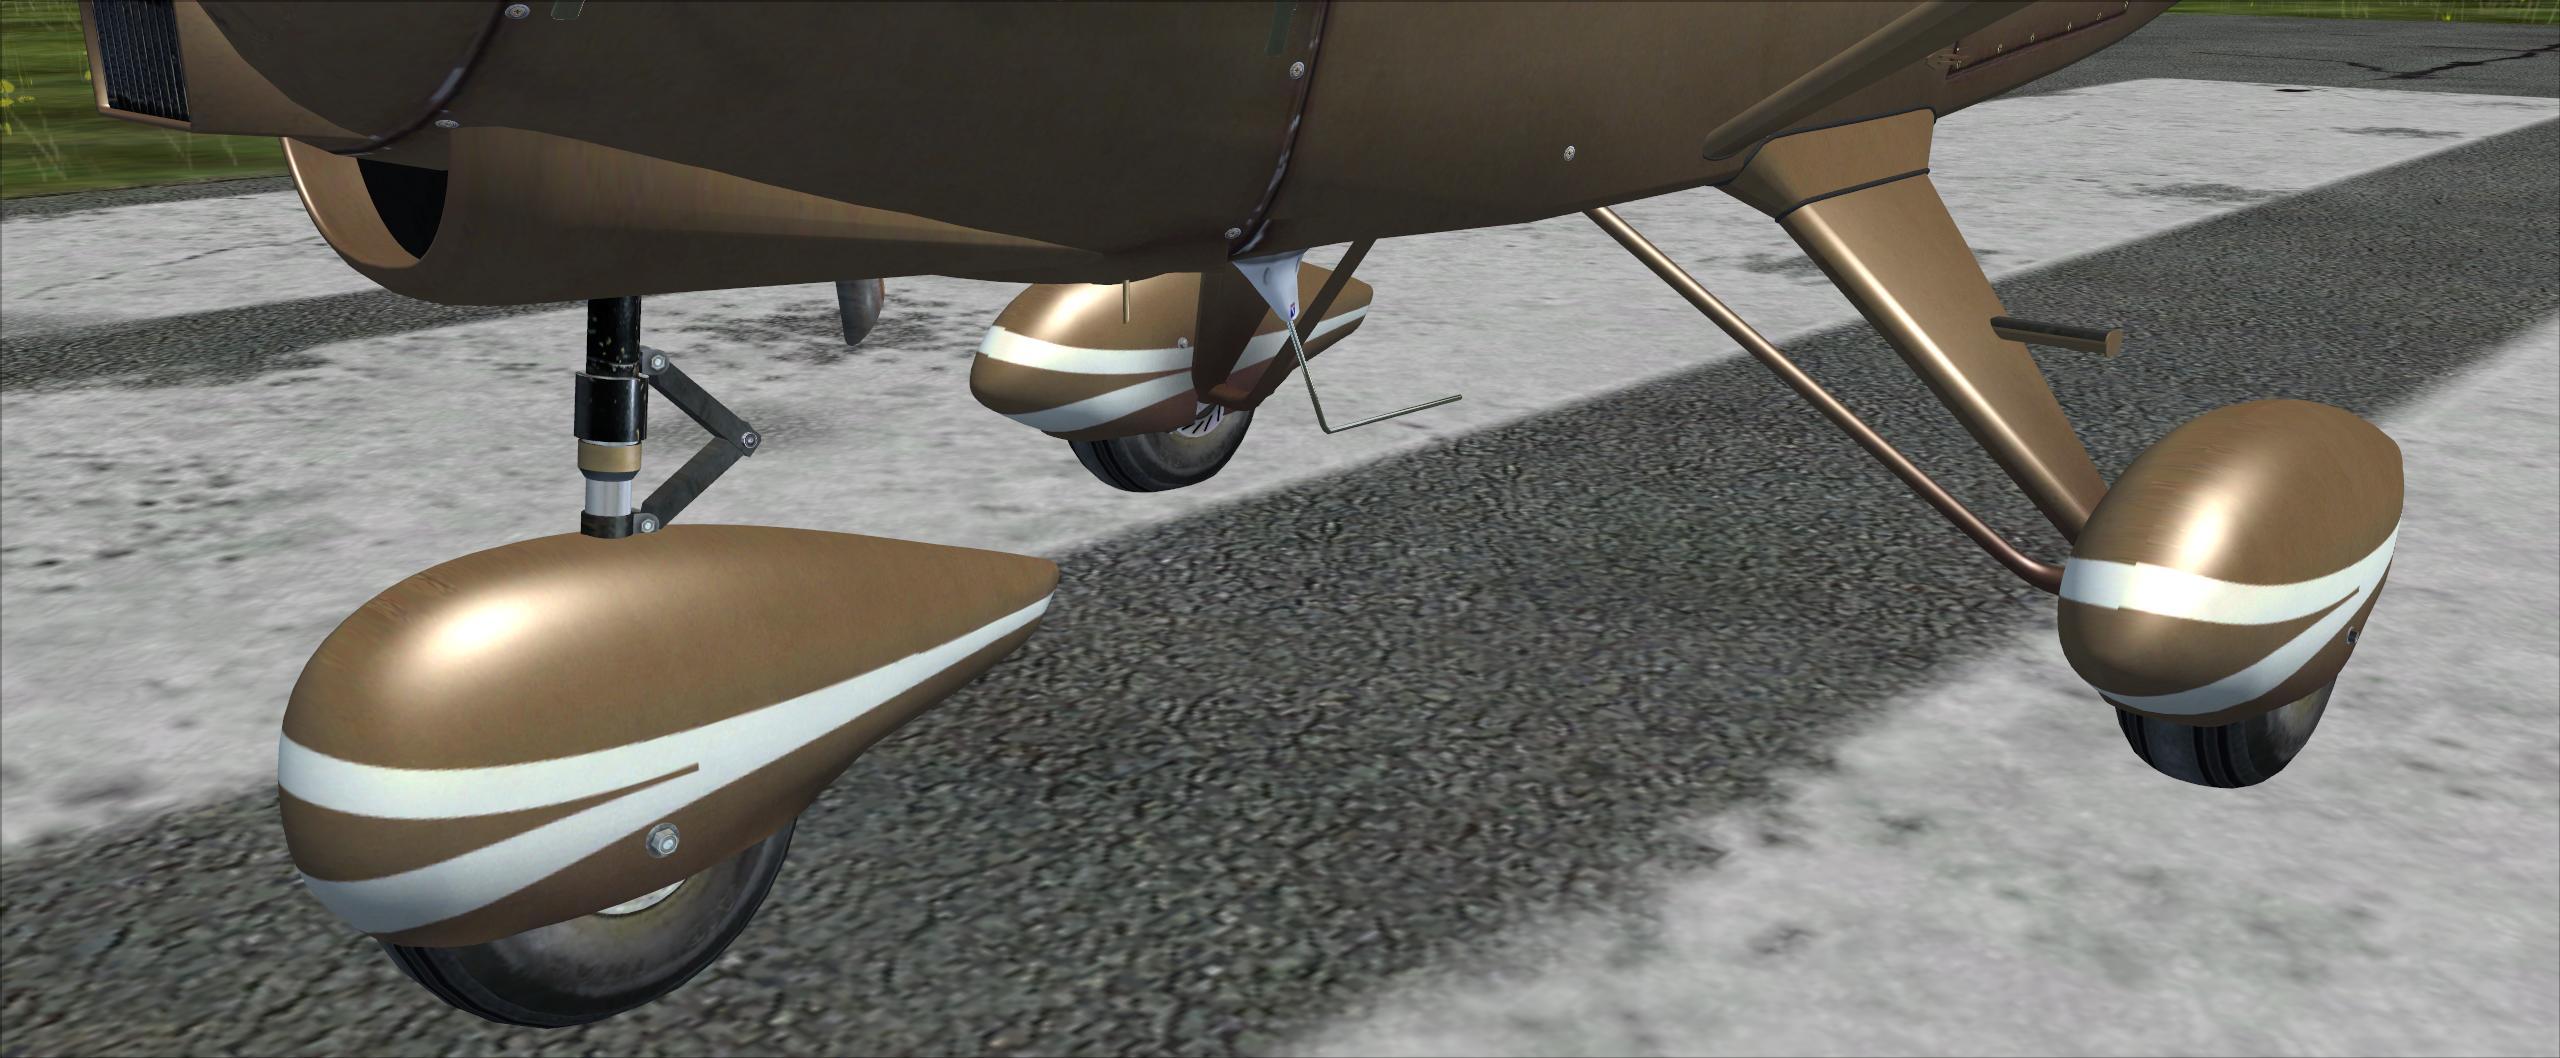
Mentioned earlier were the 4 different models, being tail dragger with wheels or tundra tyres, tricycle gear and floats. The wheeled version also have a choice of wheel pants, 3 for the tail dragger and 2 for the Tri-Pacer, these are controlled via a switch in the cockpit. The bush version also features wing lift enhancers along the leading edge.
 |
 |
 |
 |
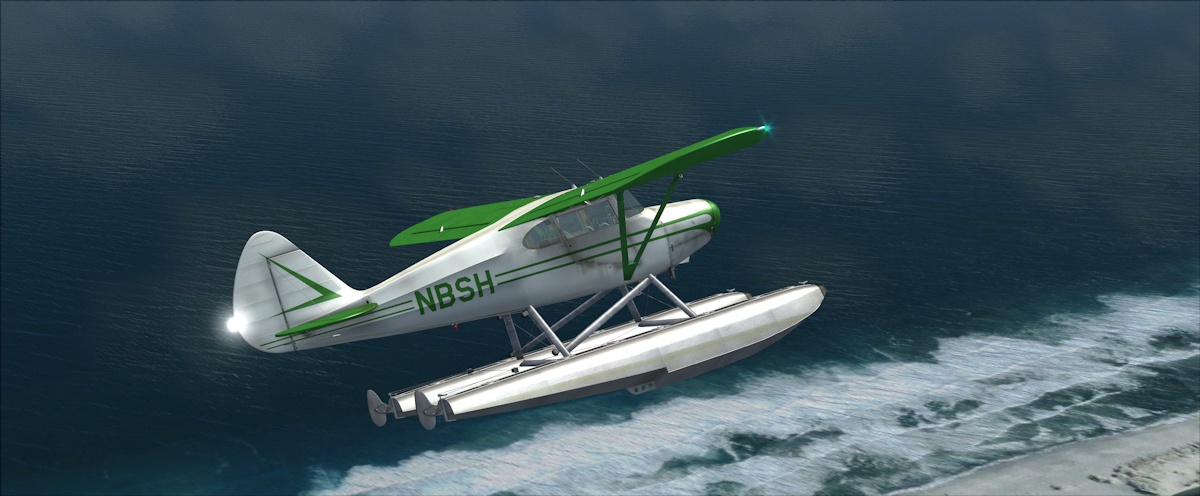
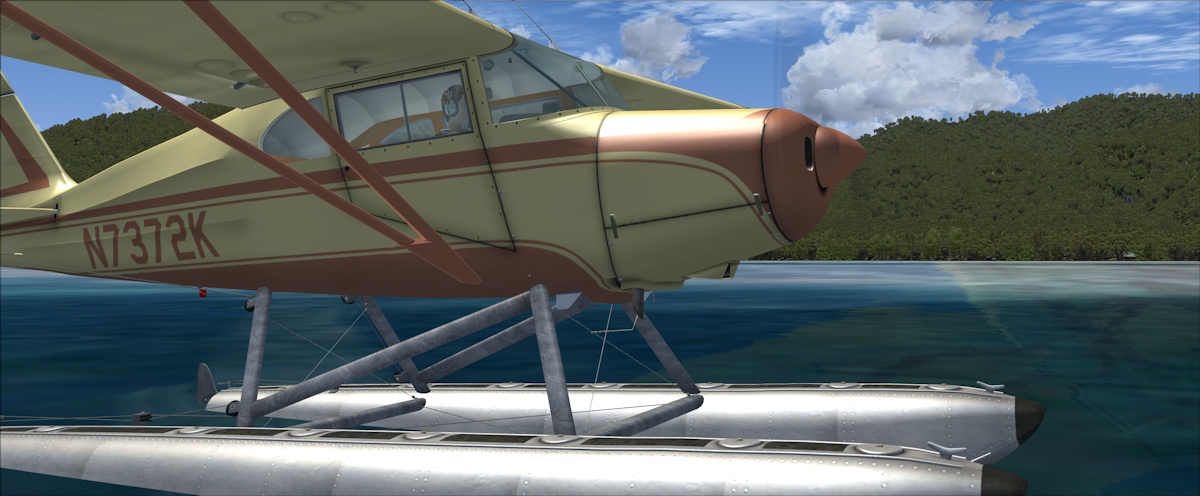
The float version adds a whole new flying experience to the Pacer and brings into play most areas of water to land on. The floats are very detailed and benefit from the bump mapping, so the caps to the float chambers and the rivets really stand out. The floats are bolted onto the fuse with some dull looking steel piping. The water rudders turn with the rudder and can be raised by pulling a ring in the cockpit.
 |
 |
 |
 |
Overall, a very thorough, high quality visual exterior model has been achieved here.
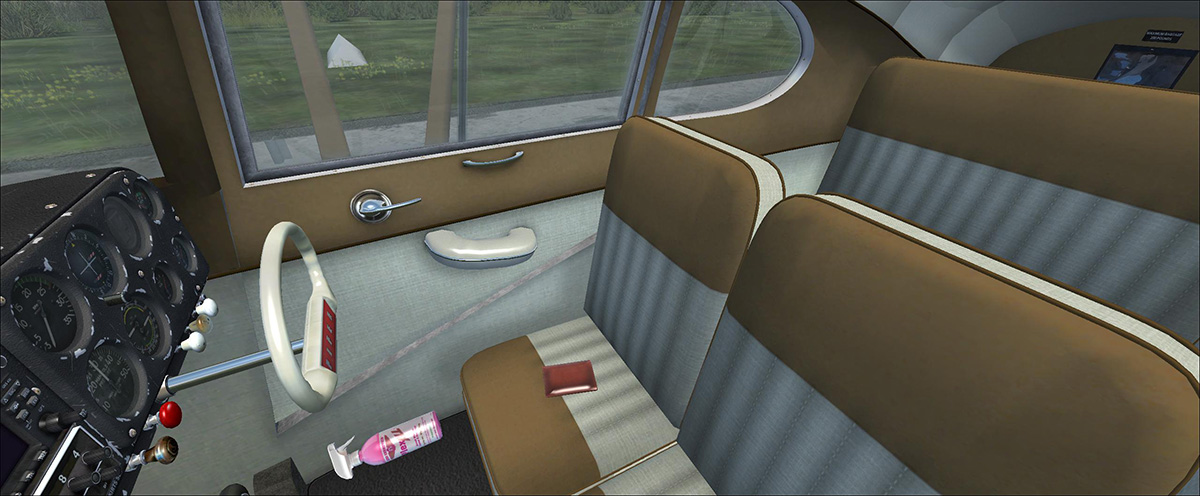
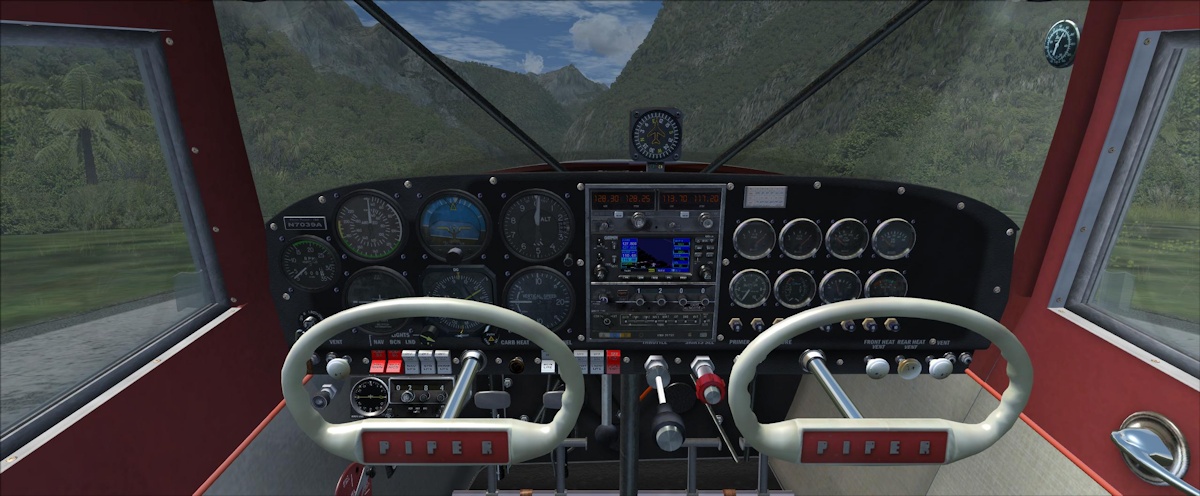
Interior - Being a 4-seater, it feels a lot more spacious and technically advanced then the Piper Cub. The stick is replaced by a decorated wheel with the Piper brand illustrated in a typical 1950's type font and you have many more instruments.
There are 3 choices of instrument depending on the model loaded. There are some common features, such as hide-able yokes, 3 stage clearing system for the windshield (this gives you the option of dirty, normal and clean class), opening sliding windows in the front, a click spot to change the wheel pants on the basic and tri models, disappearing magnetic Whiskey Compass on older version panels and finally, on the front passenger seat, a wallet which you click on to fill the passenger seats with cargo.
Most of the knobs and switches are animated and the switches also have a satisfying "click" when used.
 Passenger |
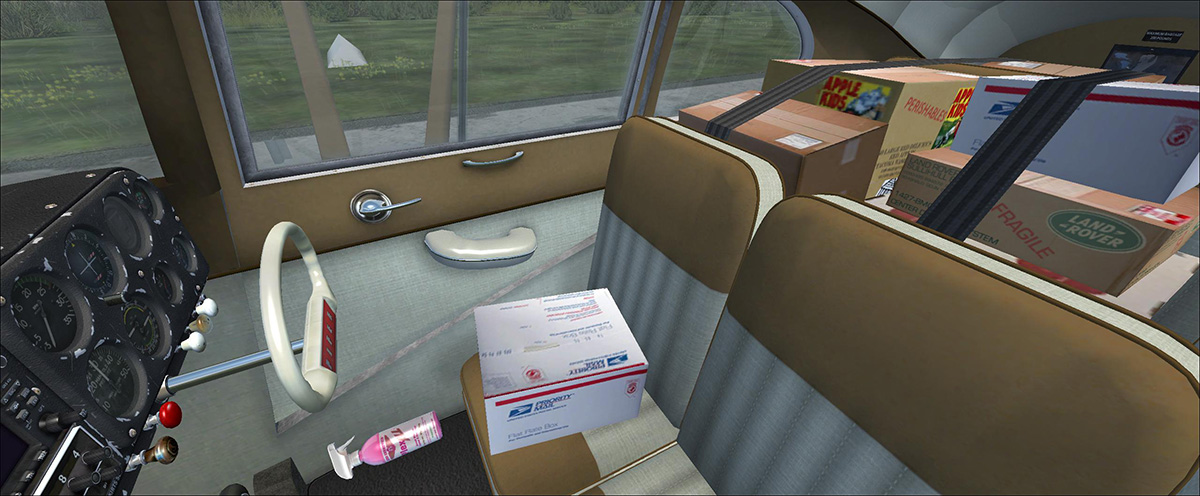 Cargo |
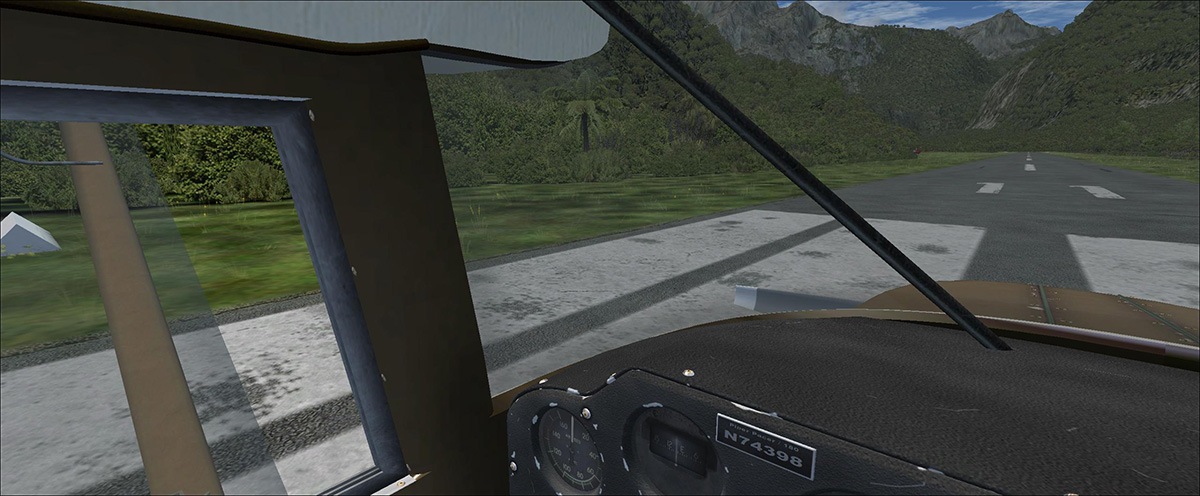 Clear glass |
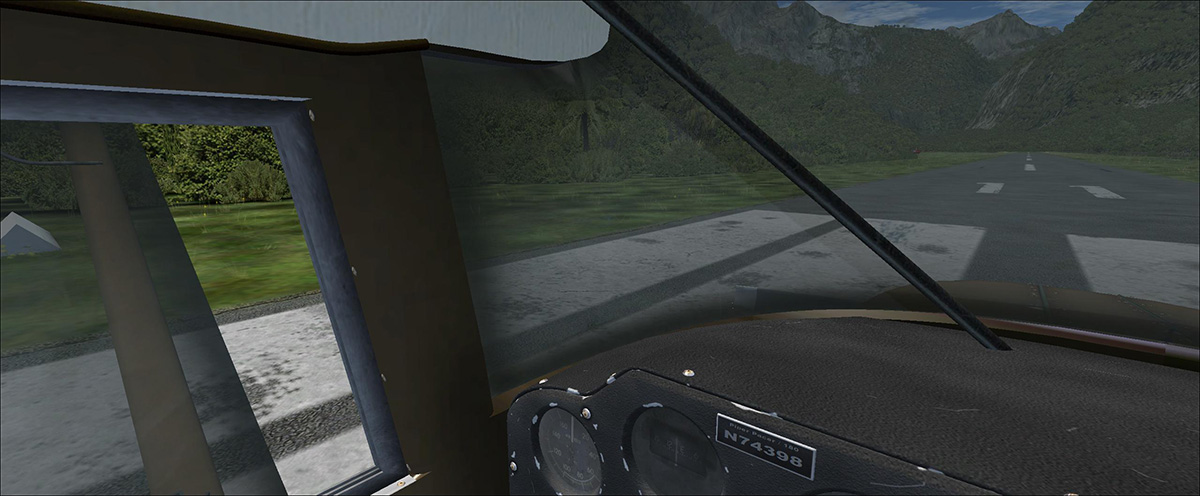 Dirty glass |
2D Panels
Each instrument version also includes a 2D version. This can be useful when you have trouble reading some of the gauges and here are the options:
 Classic panel with vintage instrumentation |
 Tri-Pacer style panel features Garmin GNS 430, ADF seeker and classic Pacer instrumentation layout |
 High-tech carbon fibre Bush plane panel features Garmin GNS 430, ADF seeker and modern instrumentation |
VC Cockpits
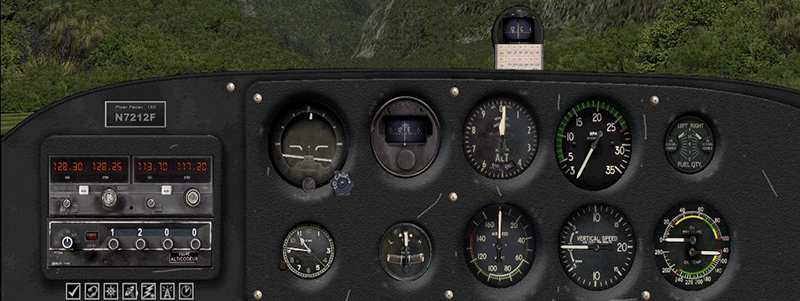
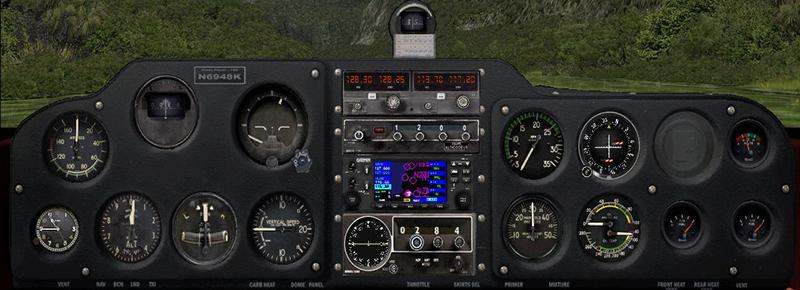
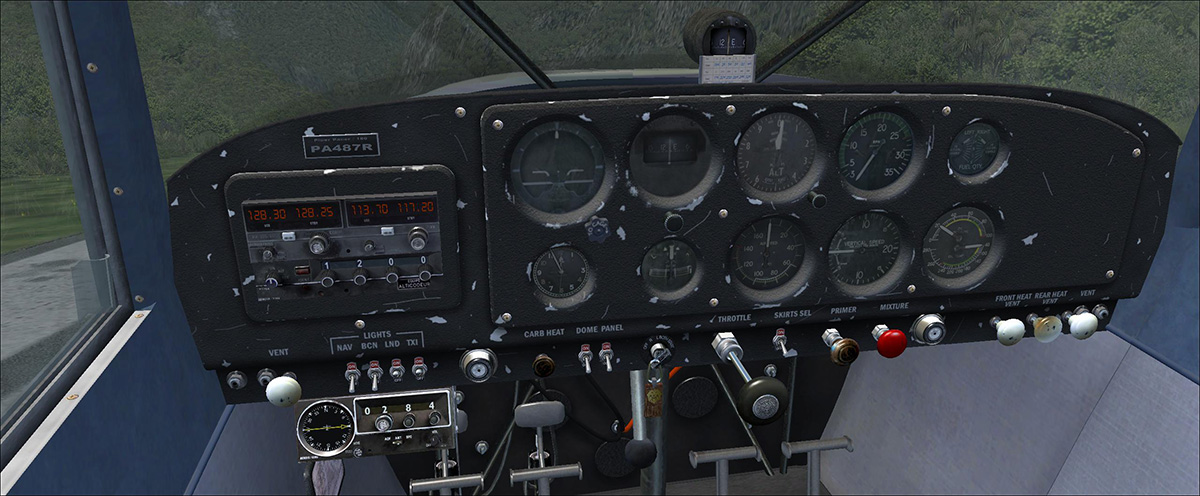
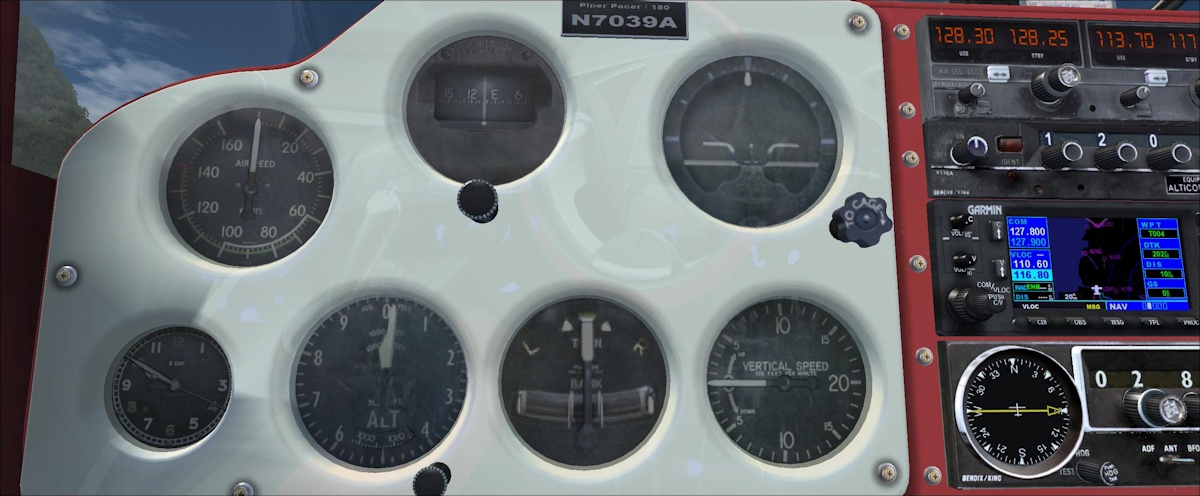
The early models featuring the dark classic panel have been given a distressed, well-used look. With some liveries, you get a high-gloss finish in keeping with the colour outside. You can choose to substitute the glove compartment for a radio stack (see below).
I found the instruments in the older panels difficult to read, even when I had the glass set to clean (the windshield opacity control also affects the instrument glass as well). The attitude gauge, in particular, is quite blurry. I found switching on the dome light improved it slightly but when you have one of the glossy coloured panels in use the glare was very distracting.
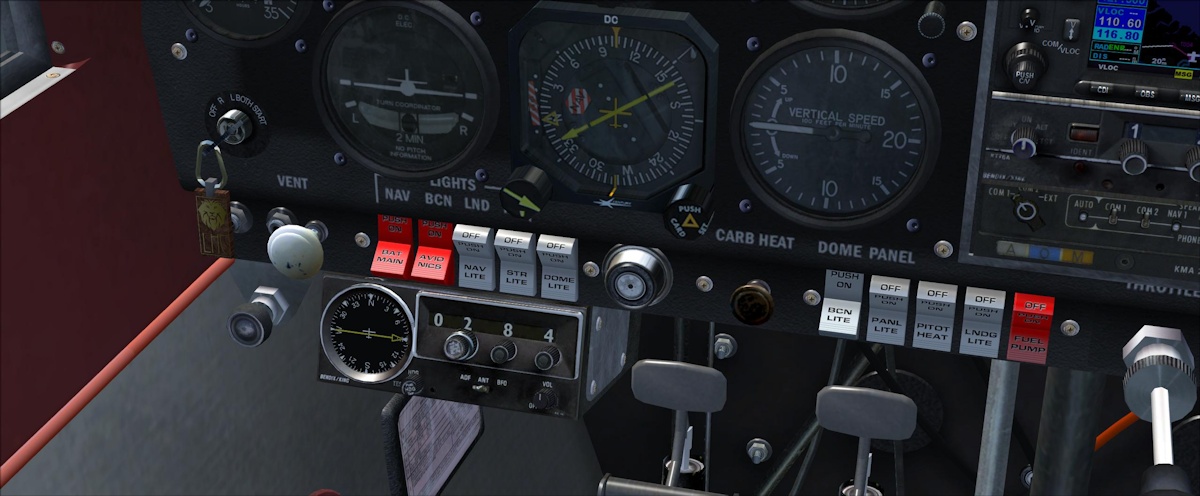
The overall detailing is excellent and you have many click-spots to activate the Pacer's many cockpit features. Centrally located in the panel are some swinging keys in the ignition. In the older versions the starter was situated under the seat but would have not been easy to access so Bill decided to use his artistic licence and add the key starter to the panel. Likewise with the fuel cut-off as originally there was no cut-off or switch, so again, a control was added underneath the window on the left.
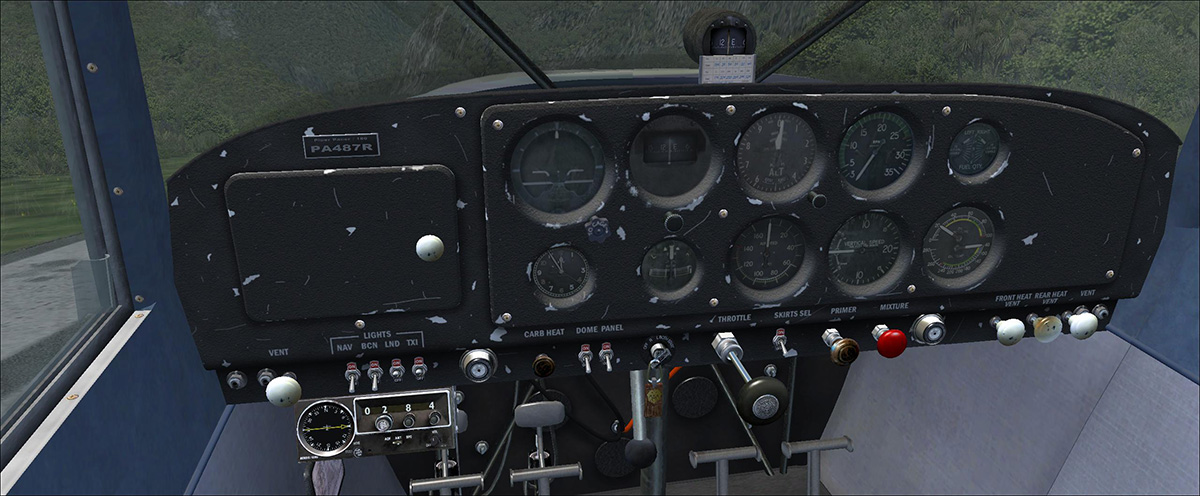 Classic Panel |
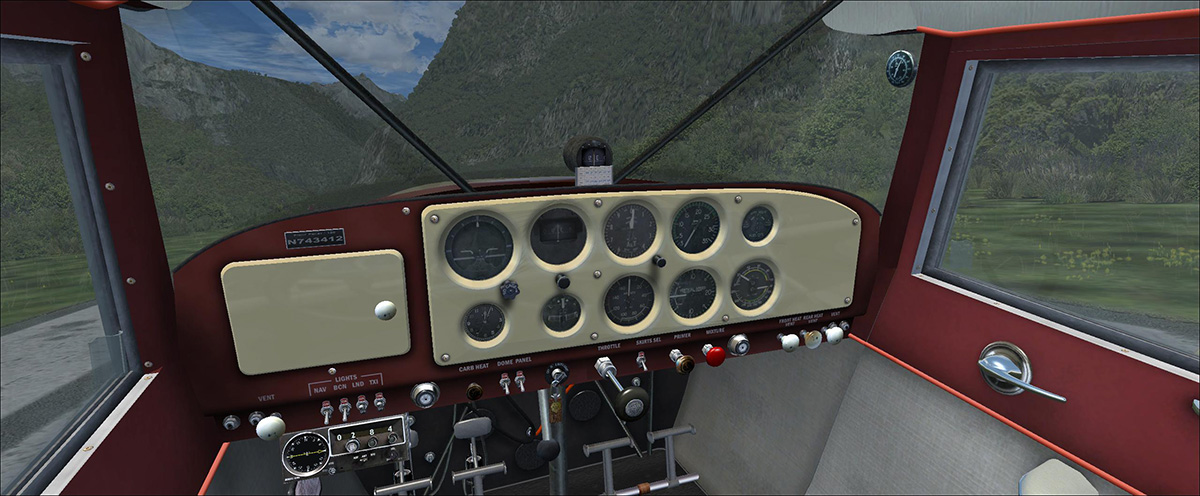 Classic Panel - Painted |
 Classic Panel with Radio Option |
 Classic Panel with Radio Option and Wheels Visible |
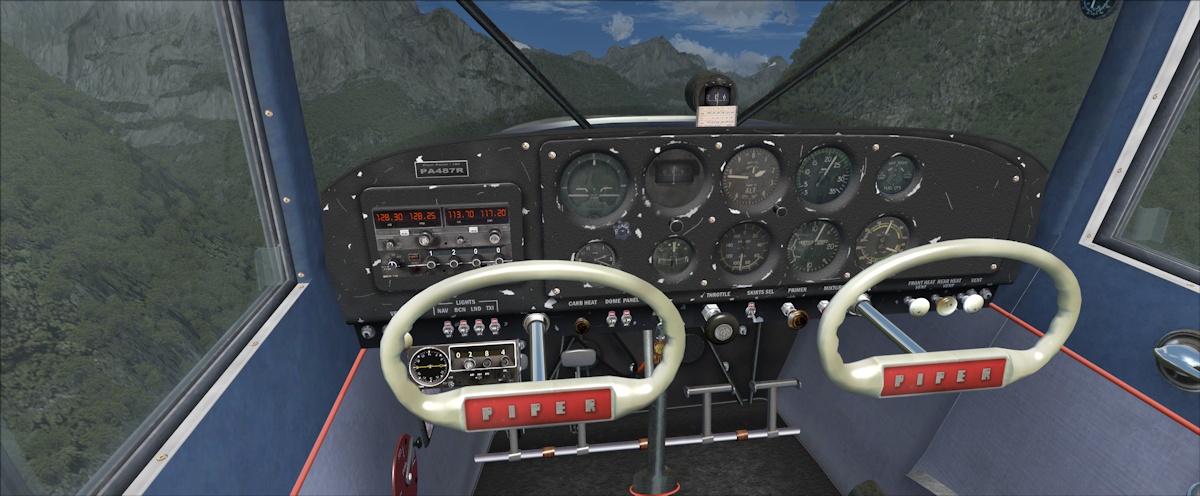
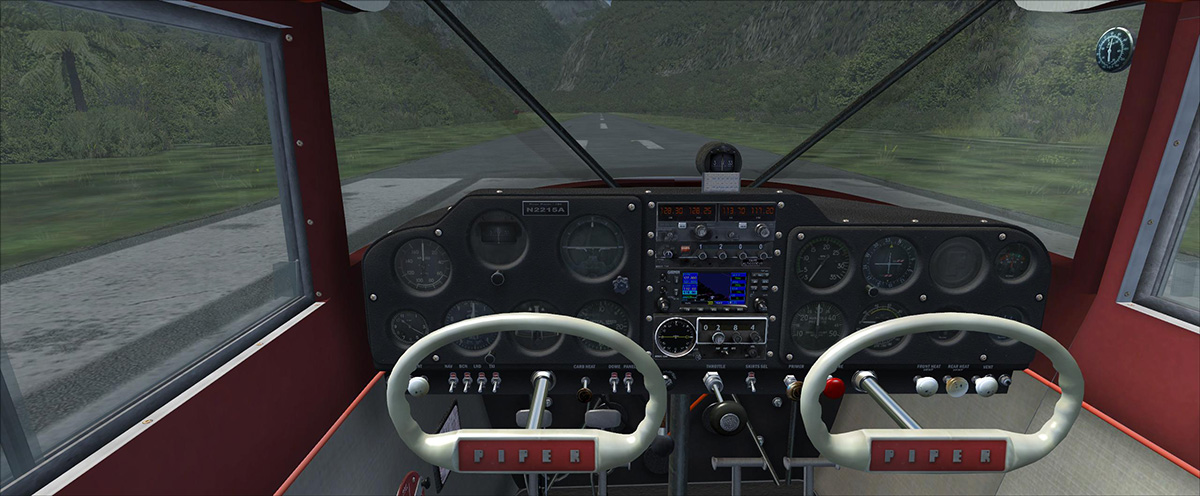
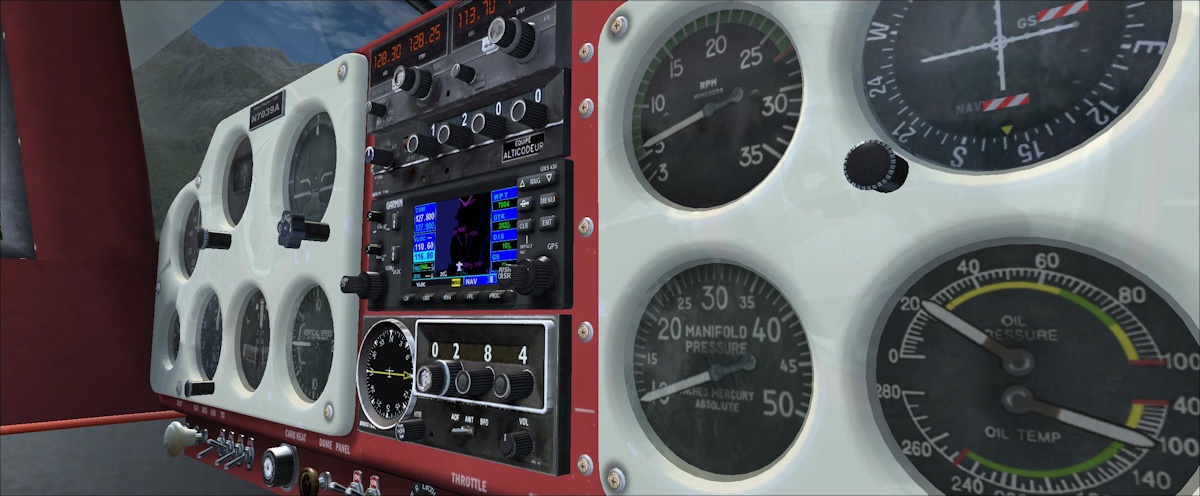
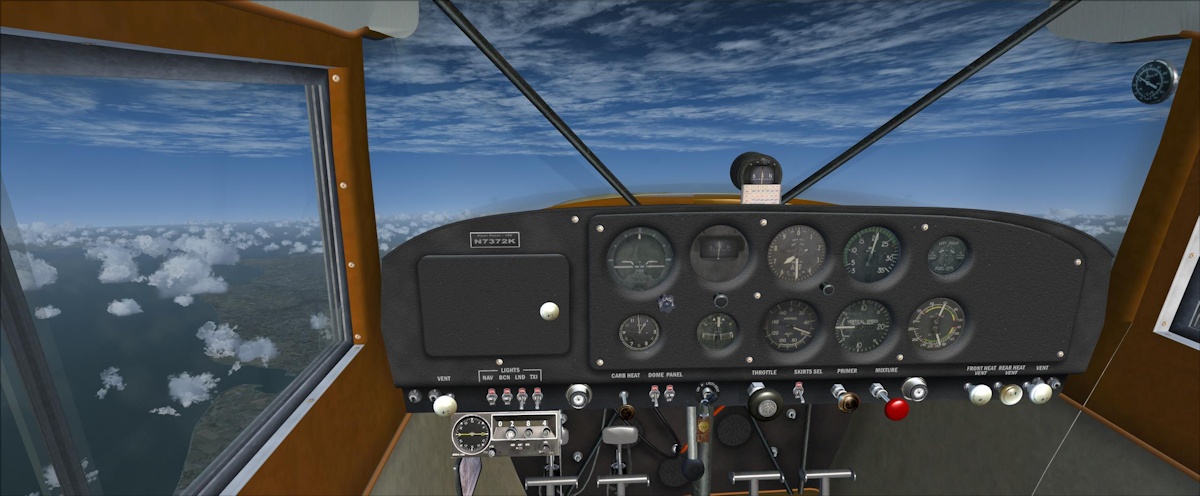
The Tri-Pacer panel was a whole lot better, using a more familiar layout and the same type of gauges. The gauges appear to be slightly sharper and the inclusion of manifold pressure and Garmin GNS 430 made it much nicer to navigate.
 Tri-Pacer Panel - Clean |
 Tri-Pacer Panel - Old
 |
 Tri-Pacer Panel - New |
 Tri-Pacer Panel - Detail |
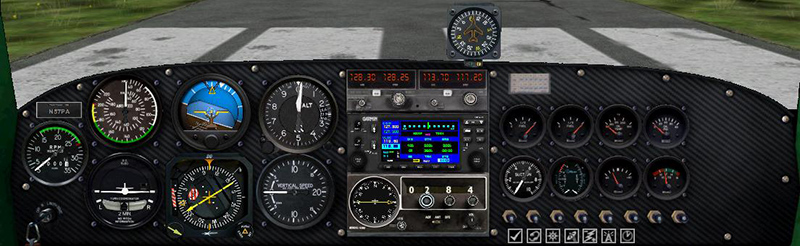
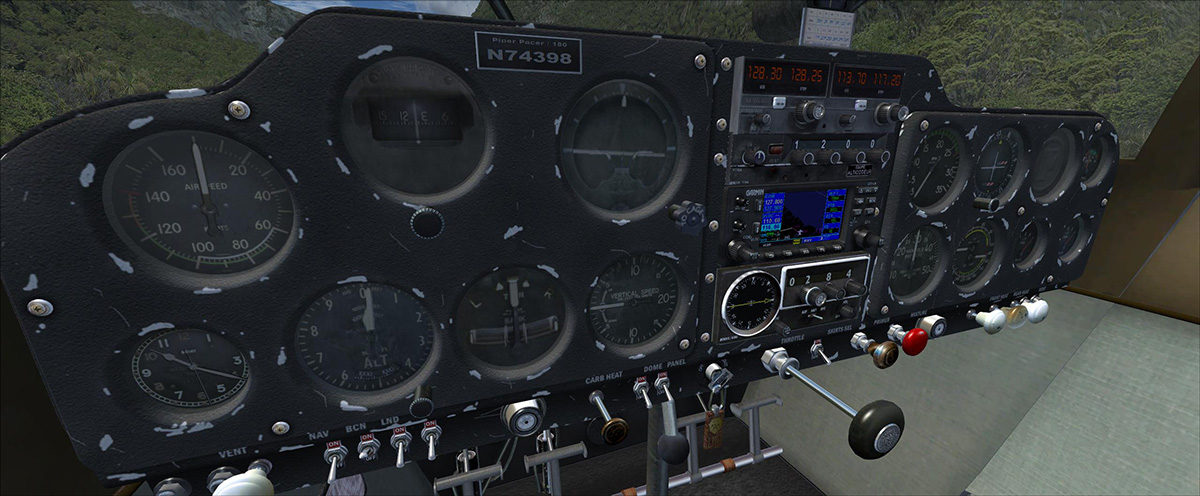
Bush and float panels - The avionics are brought up to date with a choice of finishes and modern gauges.
 Up To Date Avionics |
 New Electrics and Rocker Switches |
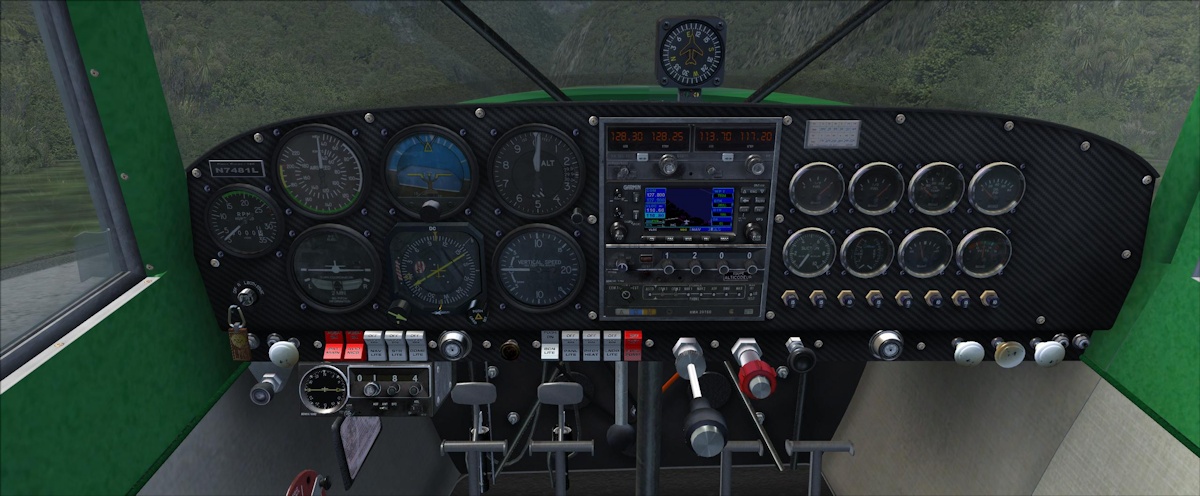 Carbon Fibre fascia |
 Carbon Fibre Fascia With Wheels |
Animations and Static Elements
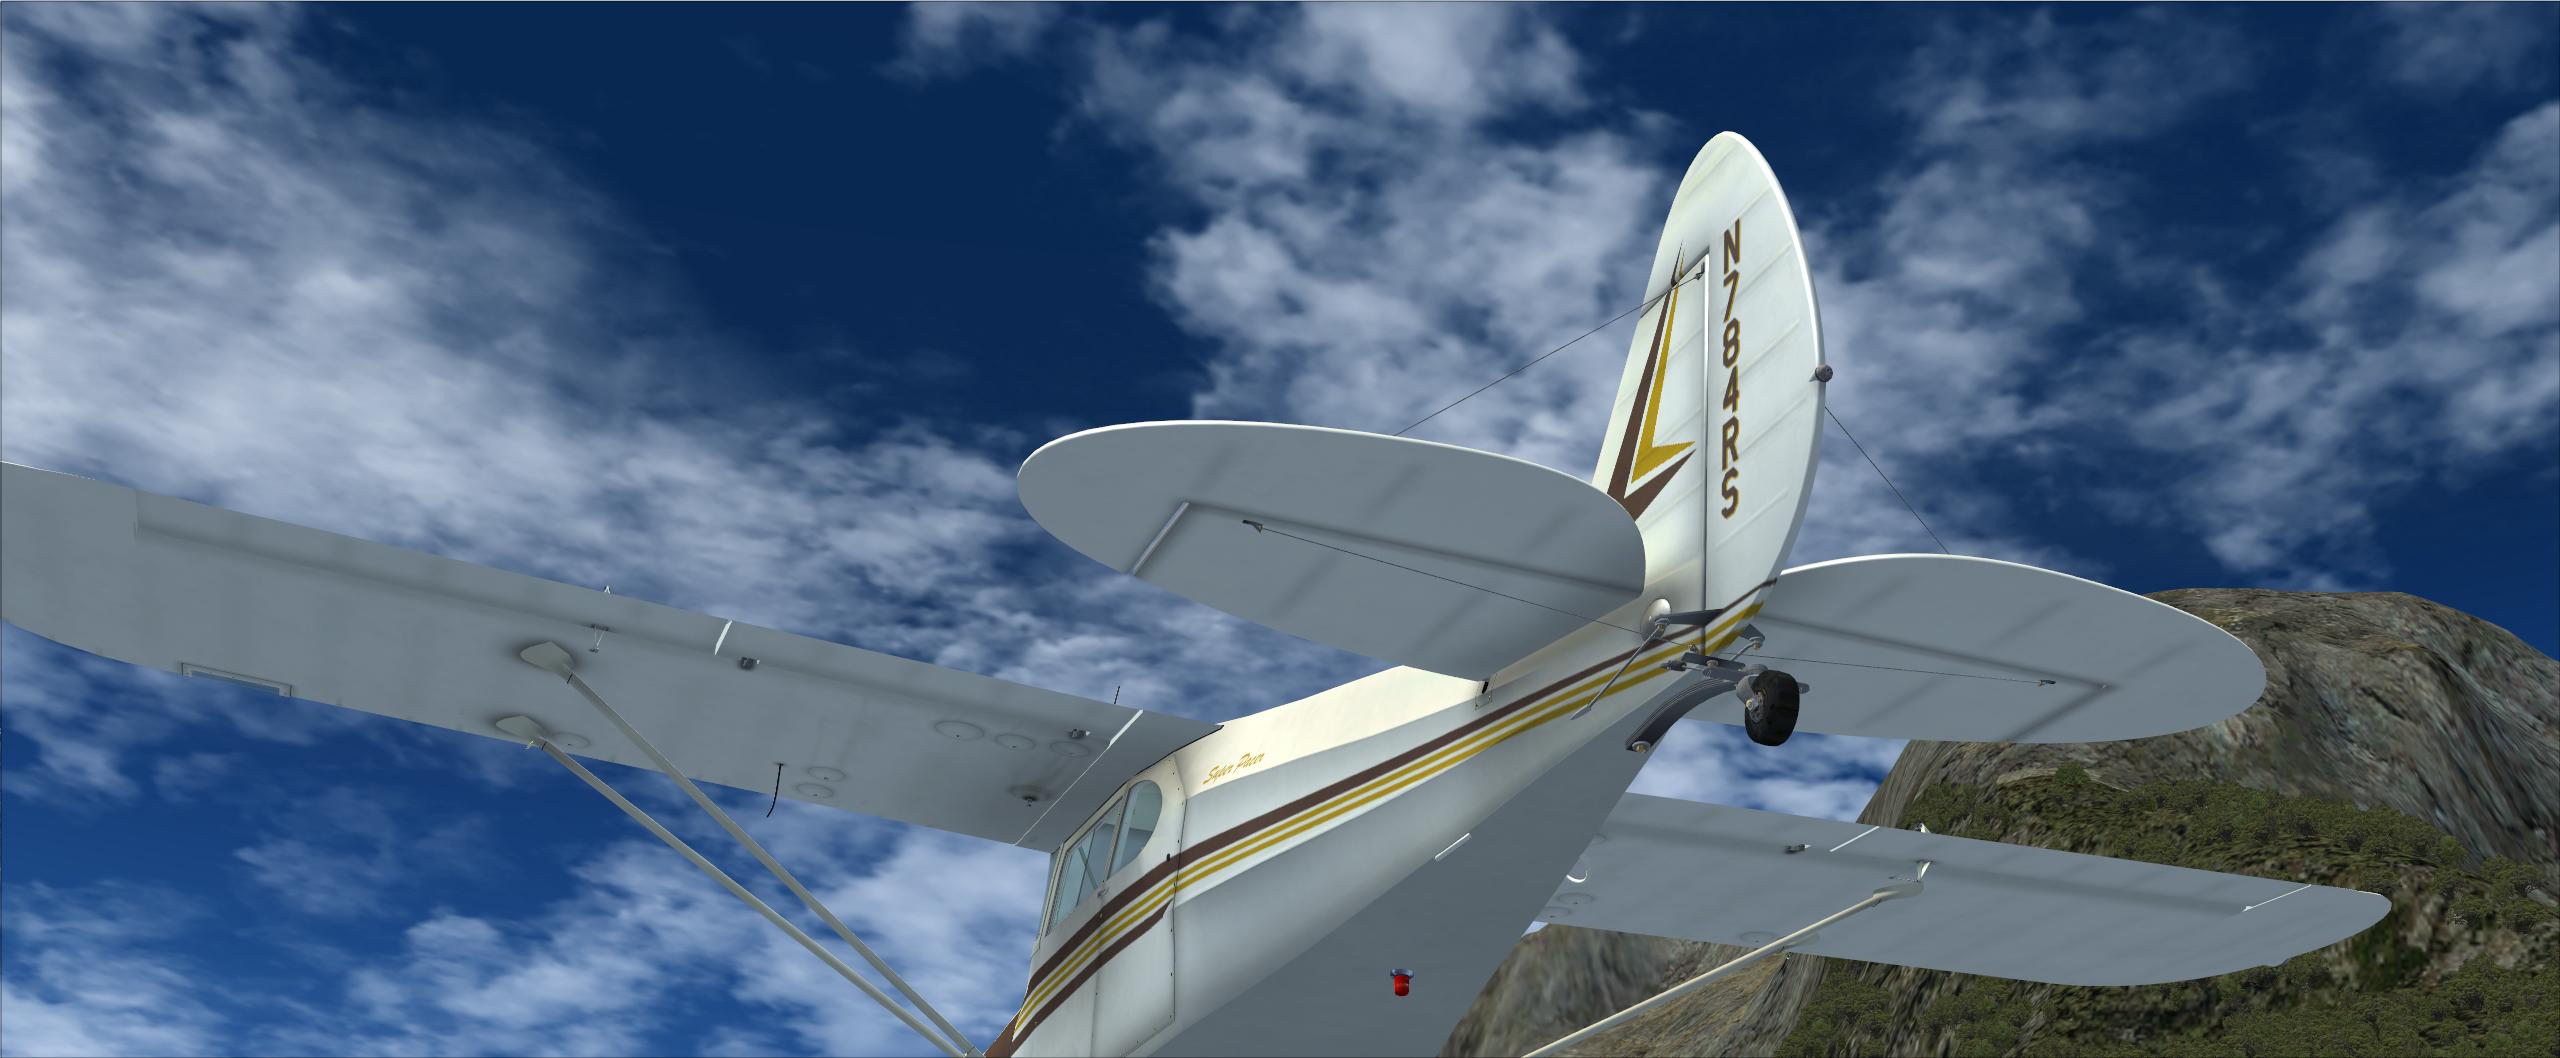
The Pacer has all the normal control surface animations portrayed perfectly. The push rods controlling the rudder have a very believable movement as does the oleo strut on the front wheel of the Tri-Pacer, so you can see every bump being absorbed by the suspension.
From the 'Spot' View, you can see the animated pilot who scans the instruments. He doesn't react to control inputs but is, nevertheless, believable.
Some little niggles were some of the rotary switch inputs, such as, uncaging the attitude gyro, heading indicator, and barometric pressure input, were not animated but the gauges did react to the mouse input..
Lighting
As I mentioned earlier, the lighting on the earlier model gauges at night made them easier to read than in the day. I found I needed the dome light on as well as the instrument lights.
External lights were pretty much standard navigation lights and of good quality.
Sounds
All I can say is "alias=Maule_M7_260C\sound", so you are hearing the sound from the default Maule and, to be honest, they are perfectly adequate for the Pacer but will lose her a couple of points..
Characteristics and Performance Specifications
The following specifications are taken from the user manual and will be the basis on which the flight characteristics and dynamics will be judged.
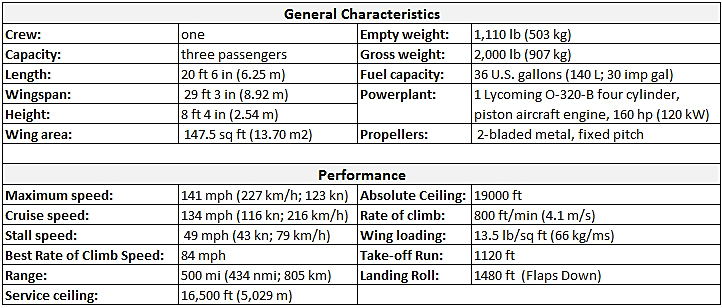 |
Flight Performance
I have been flying the Pacer for about 9 months now and have always enjoyed the experience. This is the aircraft that brought GA to the masses through its kind temperament and predictable performance, so it has to be easy to fly.
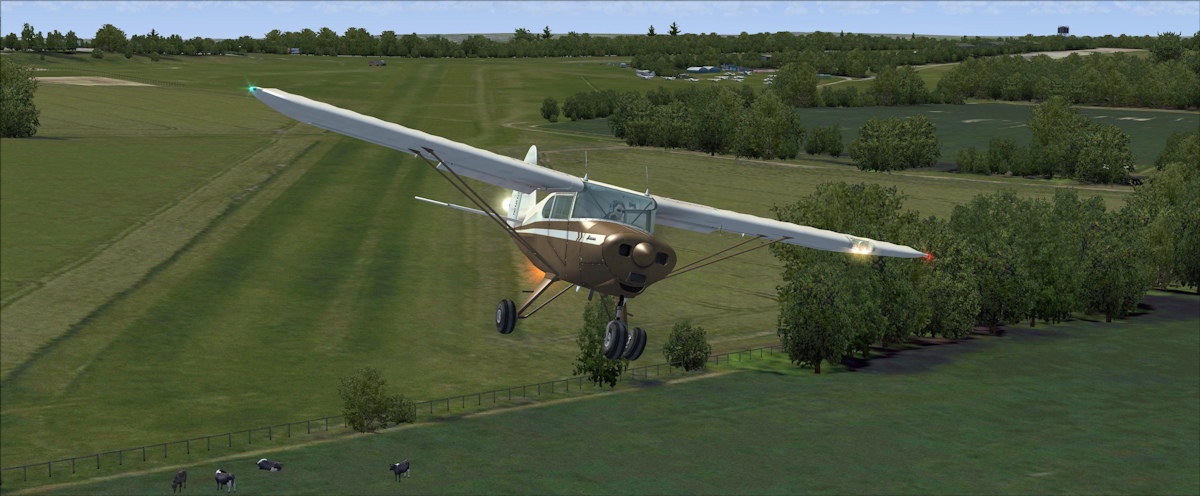
With a take-off run of less than 1,200 ft, VR logged at 47 kts, and a ground roll on landing of less than 700 ft with full flap, this is an ideal aircraft for small airfields.
You could not ask for a more diverse set of aircraft, tail dragger, tricycle gear and floats. The original tail dragger exhibits all the typical problems when taking off. The take-off run has you kicking to the right and then to the left as the tail raises and you eventually see the runway. For me, this is the most exciting version to fly when taking off and landing and I can see why adding a nose wheel and changing the centre of balance proved so popular!
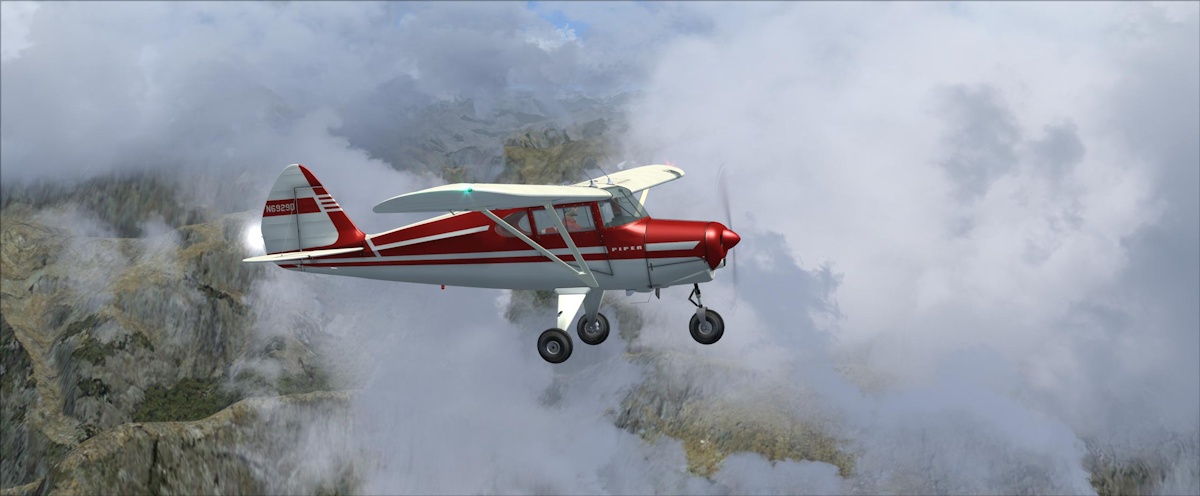
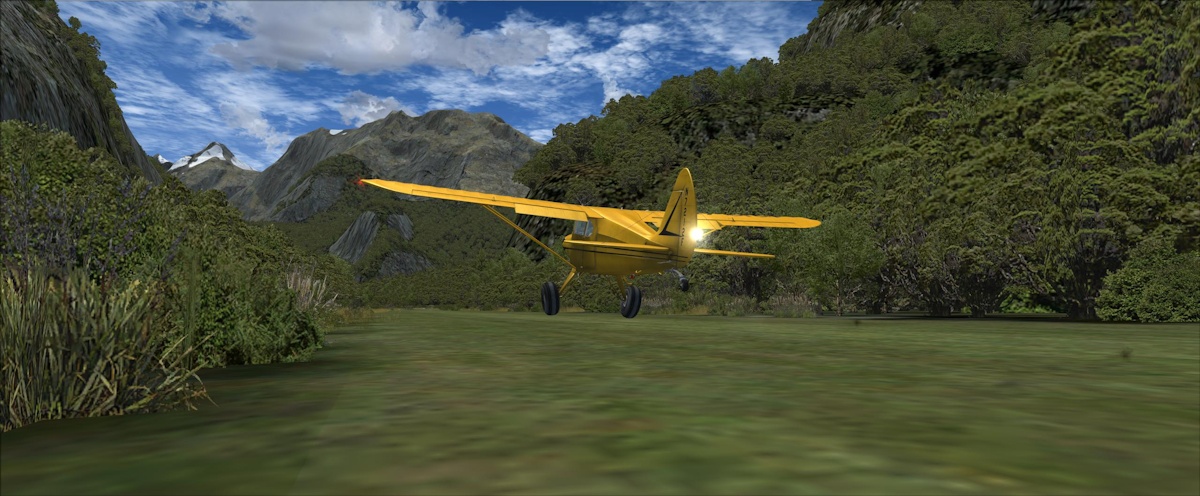 Tail dragger take-off |
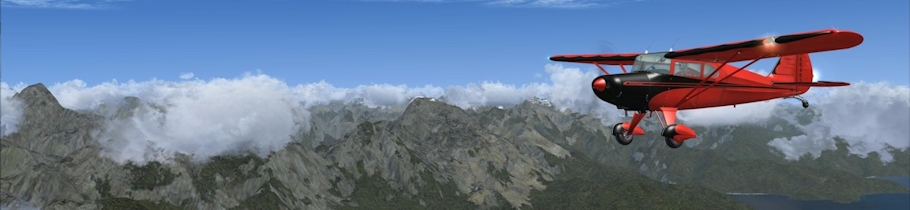
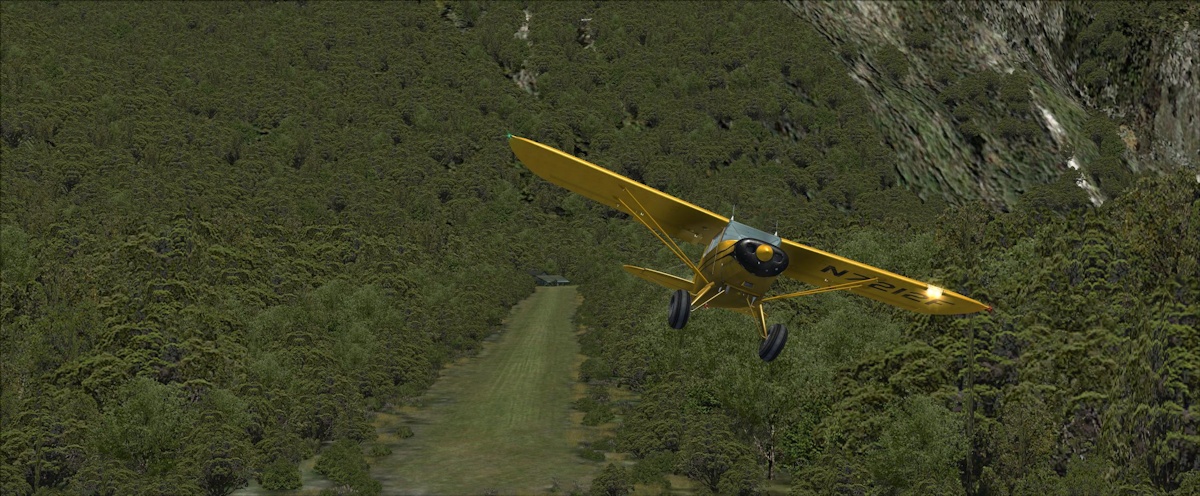 Hightailing out from the bush |
For my proving flight, I took the Tri-Pacer up and had Aerosoft's Flight Sim Keeper record the logged airspeeds for various events. After easing her aloft, a climb rate of 800 fpm was possible without too much fuss whilst keeping a reasonable climb speed of just under 80 kts. Nothing happens very fast in this aircraft, stall speeds were pretty much on spec. it is difficult to realise you are going to stall as the aircraft just starts to benignly drop until the stall warner alerts you to the situation. In a clean config, the stall speed was logged at 44 kts and only 39 kts dirty! I was happy with this, even though the "published" speeds were a couple of knots higher.
To check out the ceiling altitudes, I took off south from Shoreham across the English Chanel, up to around 7,000 ft. Am initial climb rate of 800 fpm was easily attainable and, leaning the engine and ensuring the carb heat was on, we pushed up to 10,000 at about 400 fpm. We did eventually get to the published 16,500 ft but it took 50 minutes to get there with the VSI stubbornly stuck at 100 fpm at the top of climb. By this time, I was over Berck Sur Mer in northern France!
 Service ceiling @ 16,500 ft |
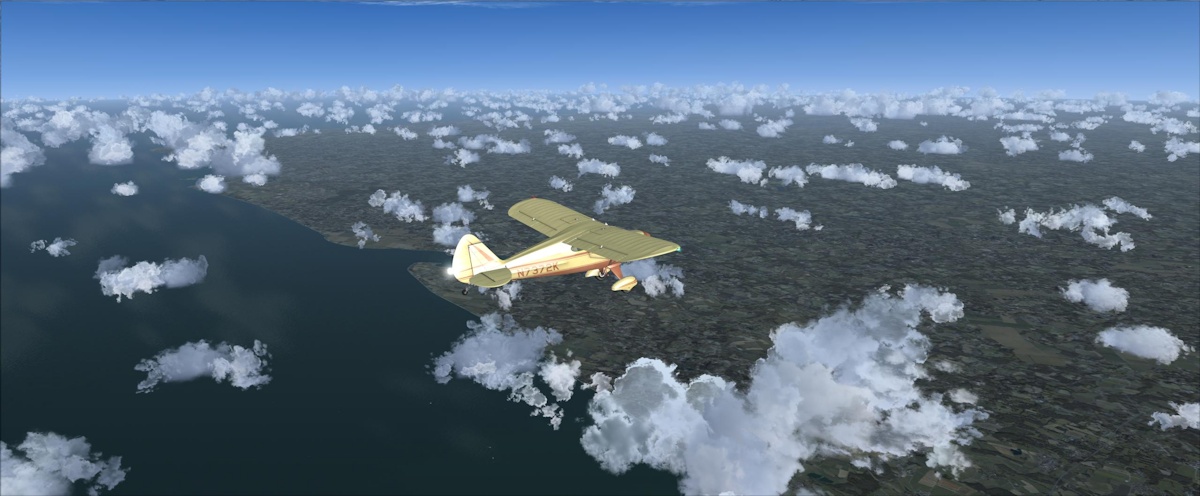 Entering northern France |
There was not as much flight performance difference as I thought there would have been between the 3 wheeled versions. The air files for the wheeled aircraft were very similar with the bush version (having tundra tyres) being slightly slower than the other two. The float version was even slower and had a slower climb rate and lower top speed.
As I hope you have realised by now, the Pacer is a joy to fly. The way that LHC have modelled the Pacer suits leisure flying at lower altitudes with the high wing making it ideal for sightseeing and bush flying.
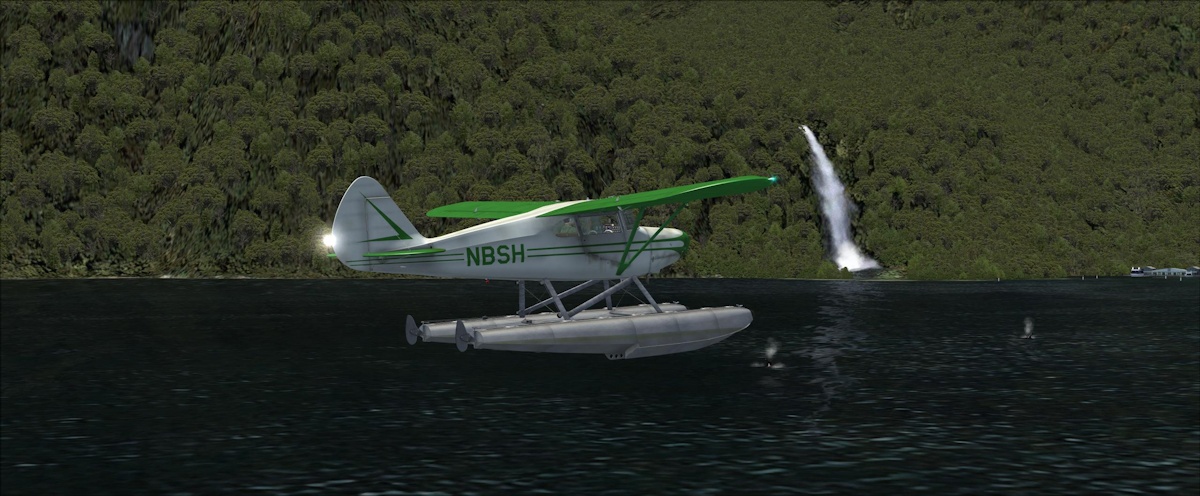 Orca spotting in the float version |
 Tri-Pacer fun |
Technical Requirements
Looking around the various resellers of this product there are no published requirements other than FSX/P3D/P3Dv2.
Simulator Performance
Considering the above, I would have no hesitation that this product would run very smoothly on medium spec machines. I use nVidia Inspector with frames set to half screen refresh and 30 FPS within FSX. I experienced hardly a flicker in the frame rate and you should be more concerned about the scenery you are using!
Review Computer Specifications
The specifications of the computer on which the review was conducted are as follows:
● Intel i7 i7 4770K o/c to 4.2);
● nVidia GTX 690 4096MB GDDR graphics;
● 16GB Corsair Vengeance DDR3 1866MHz;
● Windows 7, (64bit);
● Microsoft Flight Simulator FSX Acceleration; and
● + Additional major add-ons include Orbx FTX Global, REX And ASN.
Conclusion
What LHC have produced here is a faithful reproduction of this fantastic little cross-country tourer. She flies with the minimum of fuss and looks the part operating out of little old rough airfields in the sticks.
There are a few rough edges but, if anything, they added to the realism and enjoyment of this classic aircraft.
LHC have now released a "Classics Fleet Ultra Pack" which includes the Piper Pacer, Pasped Skylark, Fairchild 24 and the Whittman Tailwind. What an awesome collection!
Pros:
● Great external textures;
● Flies by the numbers;
● Superb range of models;
● Great simulator performance.
Cons:
● No Uninstaller;
● Some difficult gauges to read in the early versions;
● Poor attention to detail in the manual.
| Verdict: |
 |
|
| • External Model: | 9.5/10 | |
| • Internal Model: | 8.0/10 | |
| • Sounds: | 7.5/10 | |
| • Flight Characteristics (does it fly by the numbers): | 9.5/10 | |
| • Flight Dynamics (does it feel like what it looks like): | 9.0/10 | |
| • Documentation: | 7.0/10 | |
| • Value for money: | 9.0/10 |
| Mutley’s Hangar score of 8.5/10, "Highly Recommended" and a Mutley's Hangar Silver Award. |